
And yes, the hood is not finished.
I managed to recover a tiff photo of the Potez 58 (Thanks Alban) and suddenly, I was able to gain enough magnification to see the details of the hood.
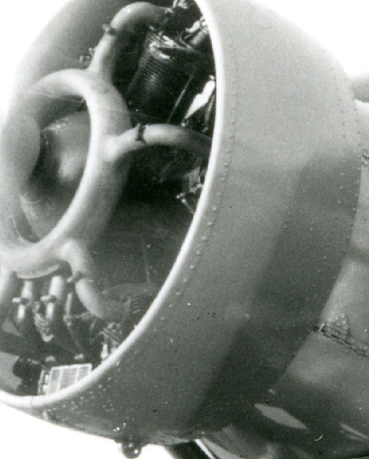
As a result, we can see that my rounded shape on the front does not conform and that there is a line of sheet metal and rivets.
First step, cut my shape to make it conform.
I started from the back, which I cut to remove the irregularities. I used the edge of a 4/10 plywood to make a flexible ruler to stick on the hood and thus draw in pencil the cutting line. Then I cut.

Then I did the same for the front part.

Here is the hood once cut. Now it looks like the one in the photo for the shape.

Looking closely at the picture of the full size plane, we can clearly see a plate line to reproduce. Once again I used the flexible rule in 4/10 plywood and I drew the sheet metal line.
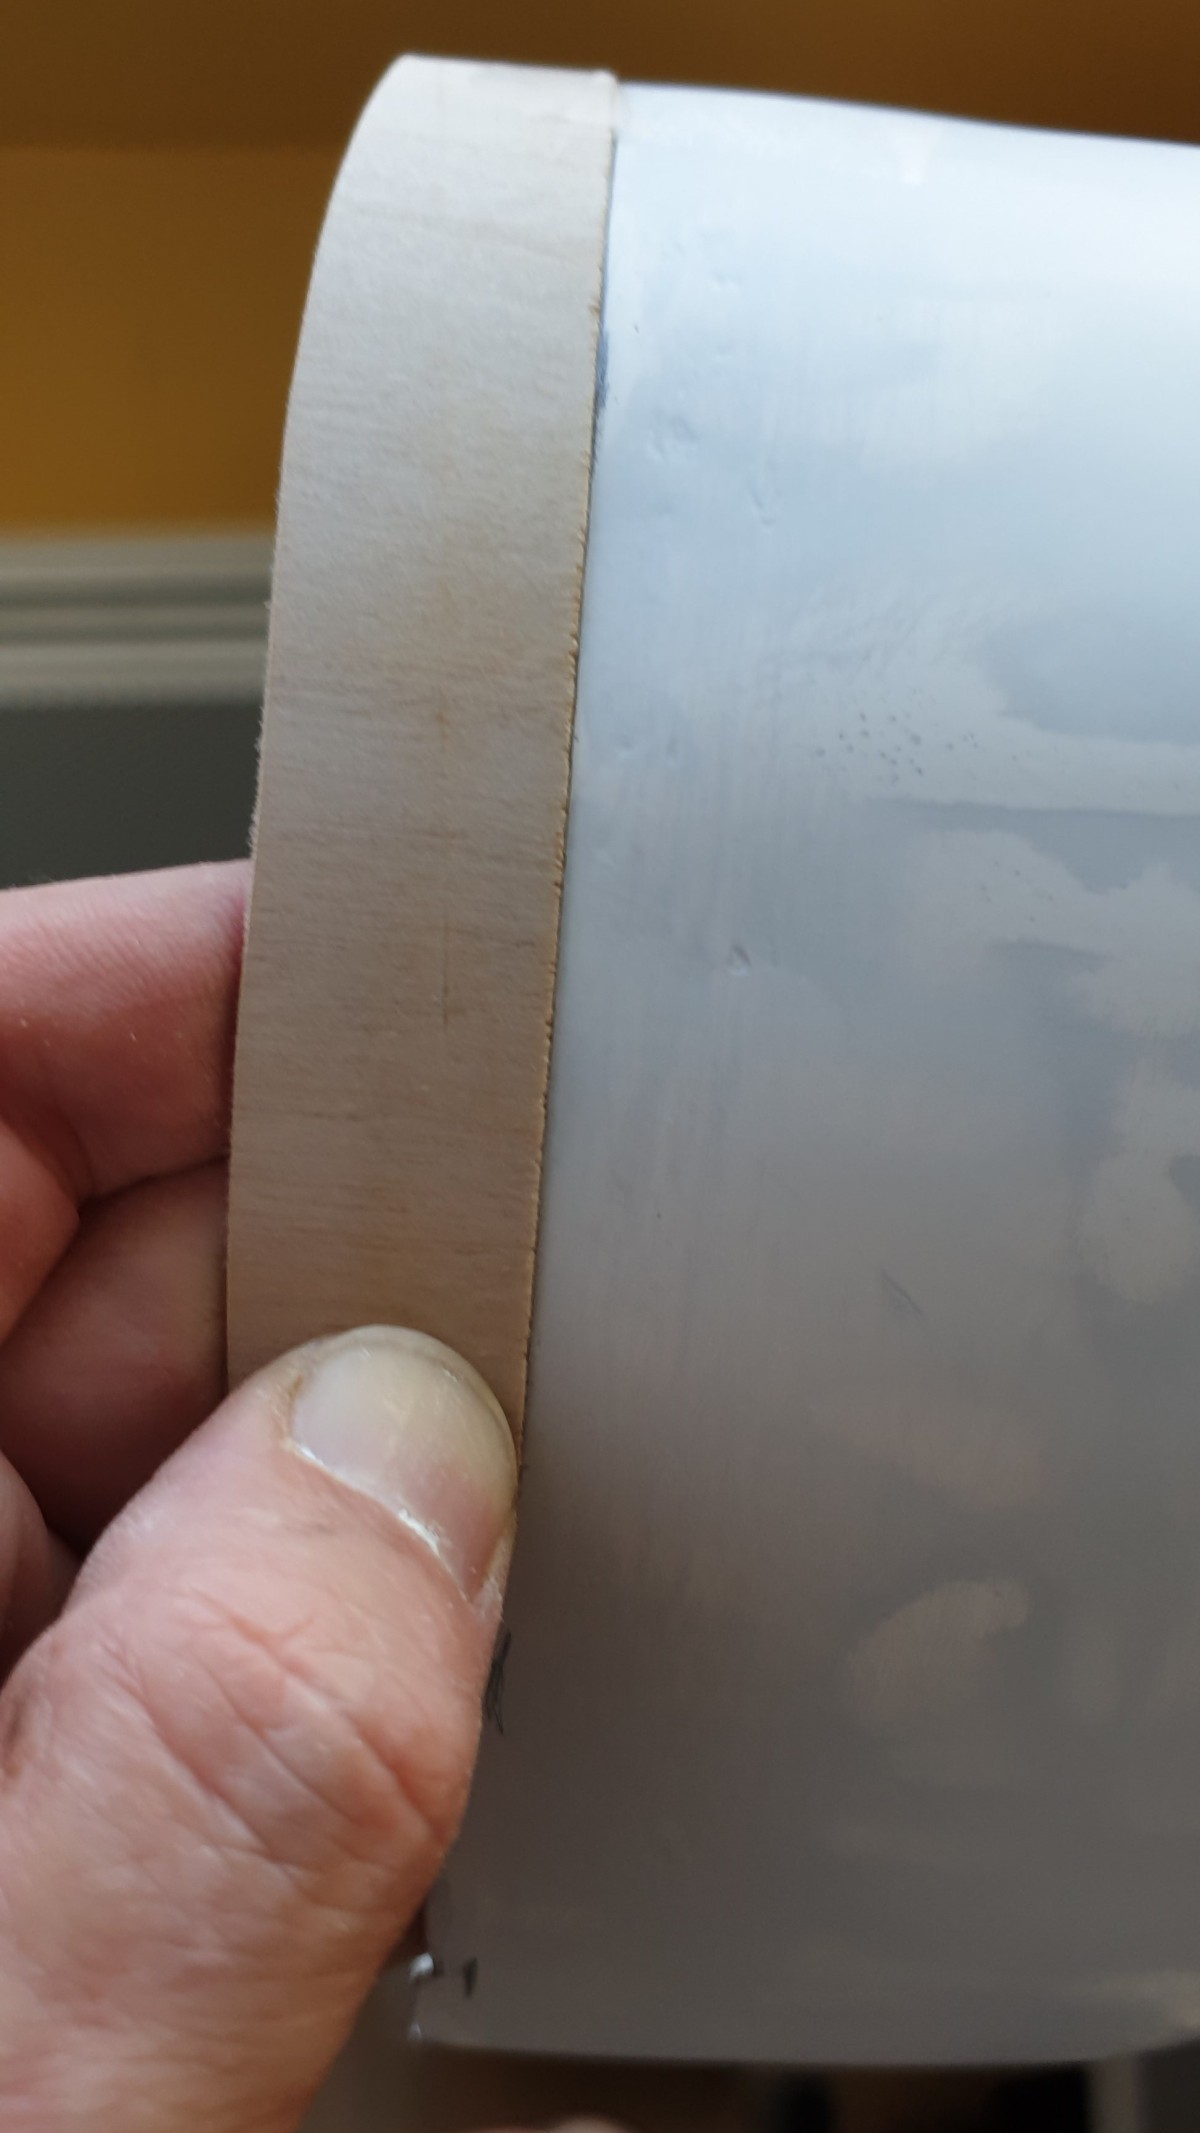
For this one, I have chosen to mark it with a soldering iron …


The cut hood weighs 60 grams.


It’s sometime too marked. I’m going to have to sand it down, I think, to reduce the flaws.


