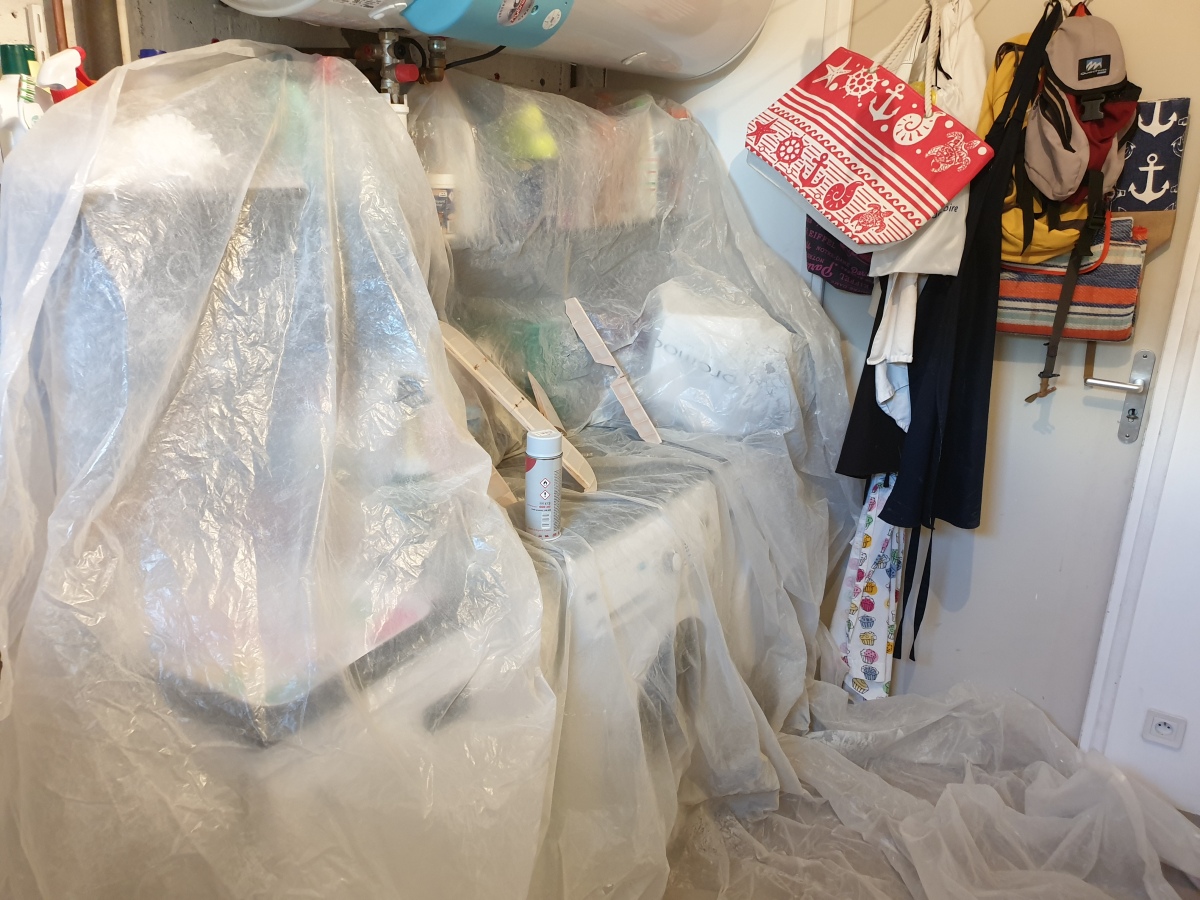
My adorable little wife agreed to use the back kitchen. Caulking, protections and a first layer of primer, then a second.

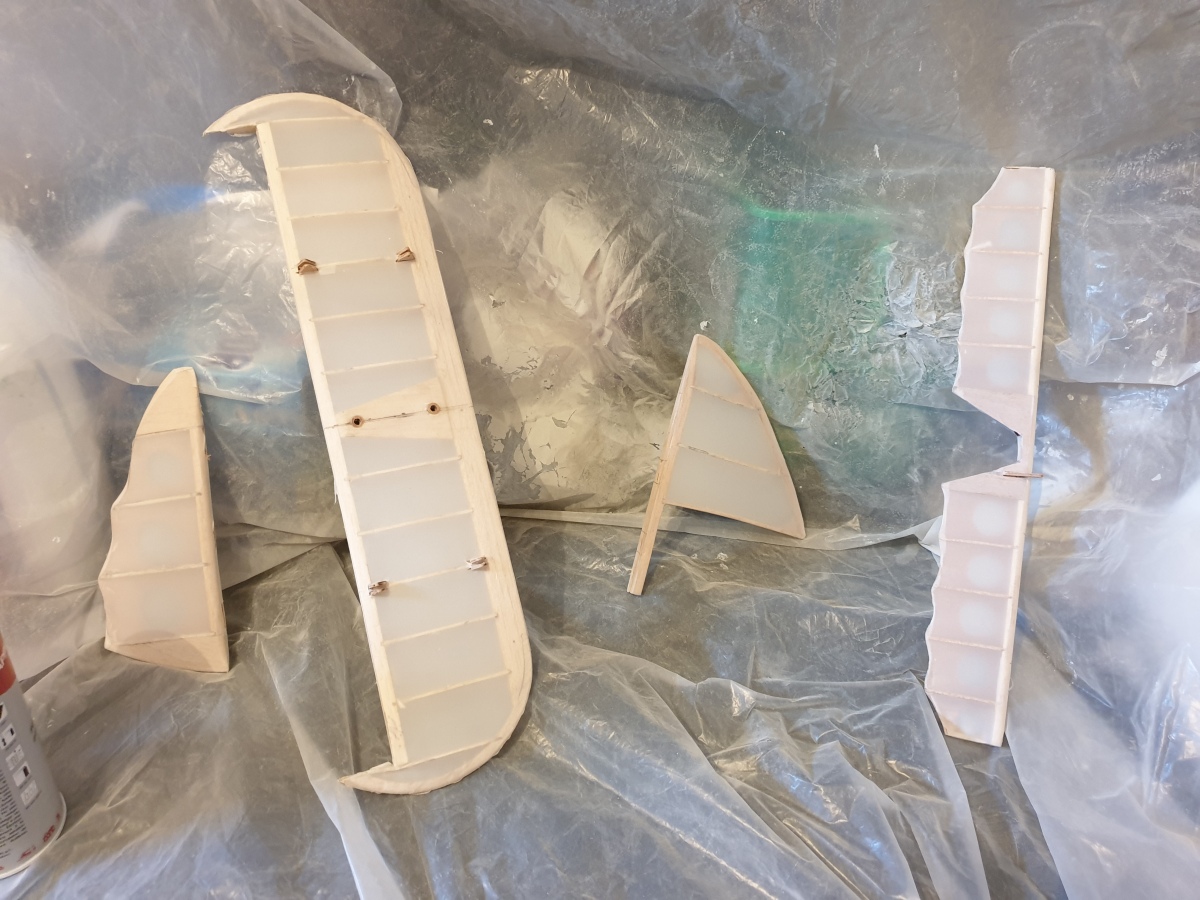


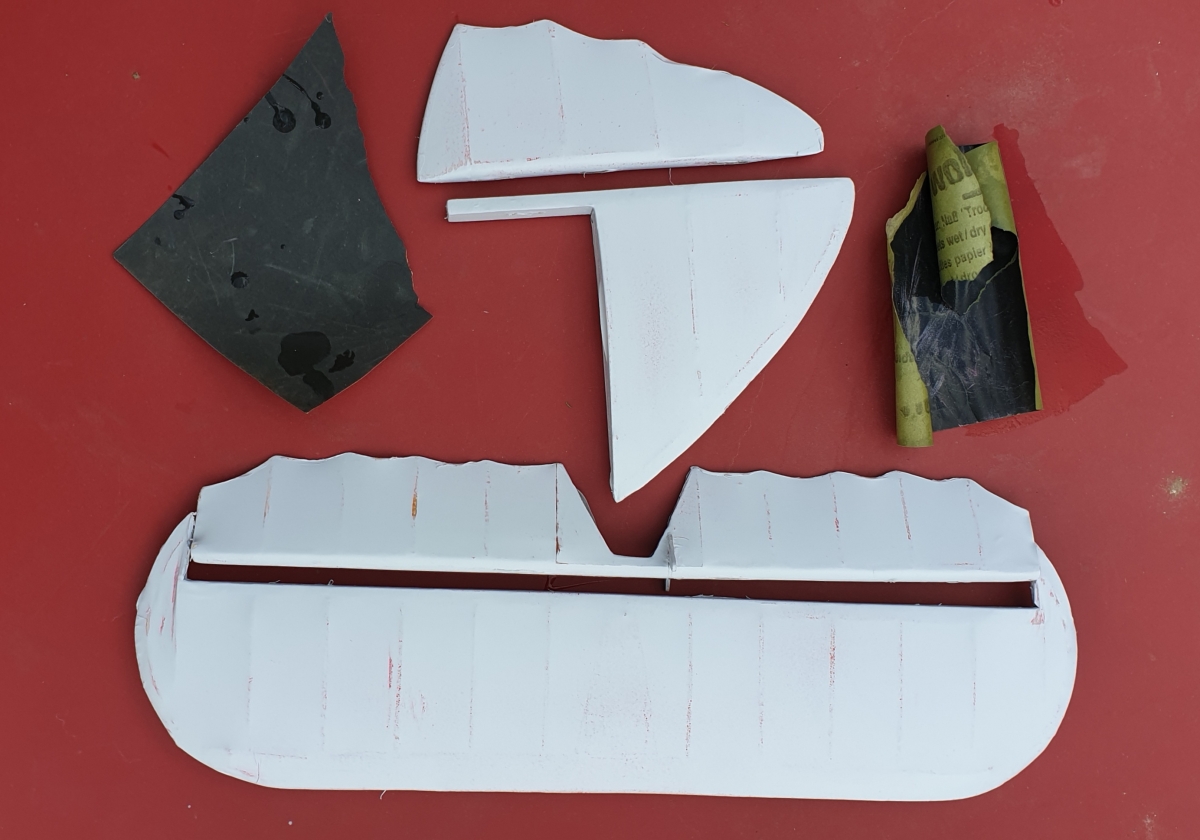
I sanded with water 400 and 600 paper, the primer placed on the rudder and the stabilizer.
A good rinse and I dried outside on the terrace. And yes, the weather is also good in Tours.
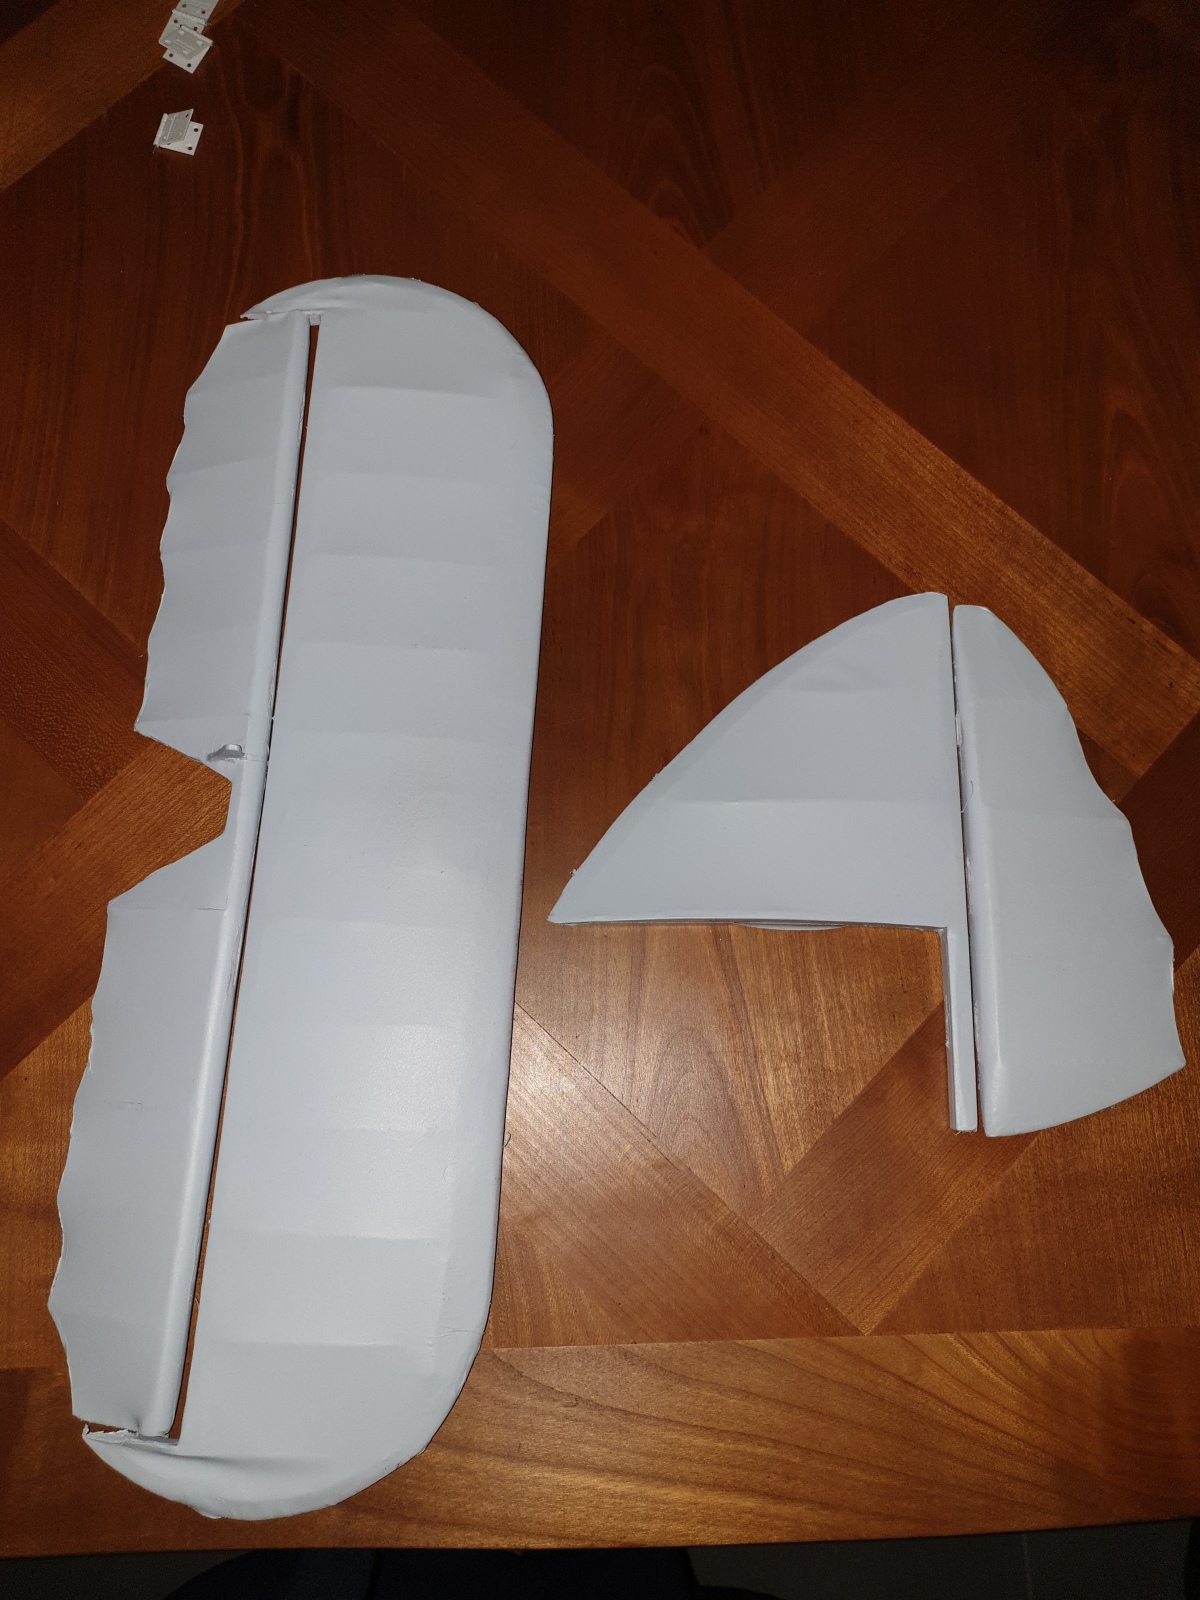
Once dry, I applied a light coat of silver gray polyurethane paint. I chose RC Color paint.
I read on a post in this forum, all the evil that some people think of this brand. Personally, I have no problem with this brand. It just need patience, because the drying takes a long time between 2 coats.
Silver paint is applied over the tailplane

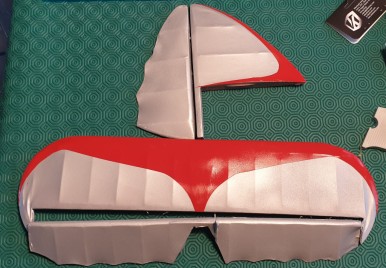
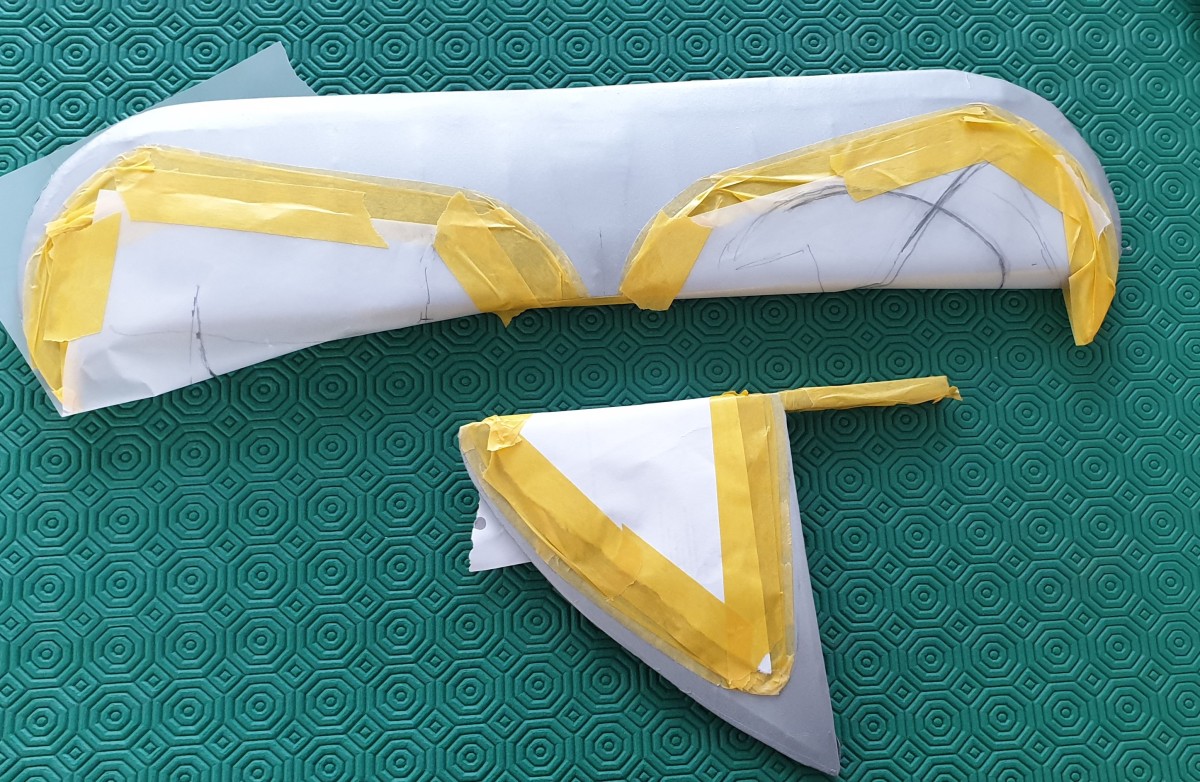
Let’s add the red paint now. I highlighted the photos of the full scale plane to then clearly trace in pencil the limitations.


Then, I did the masking by starting with a thin ribbon for line, then a wider one and then masking the areas which should not receive red paint

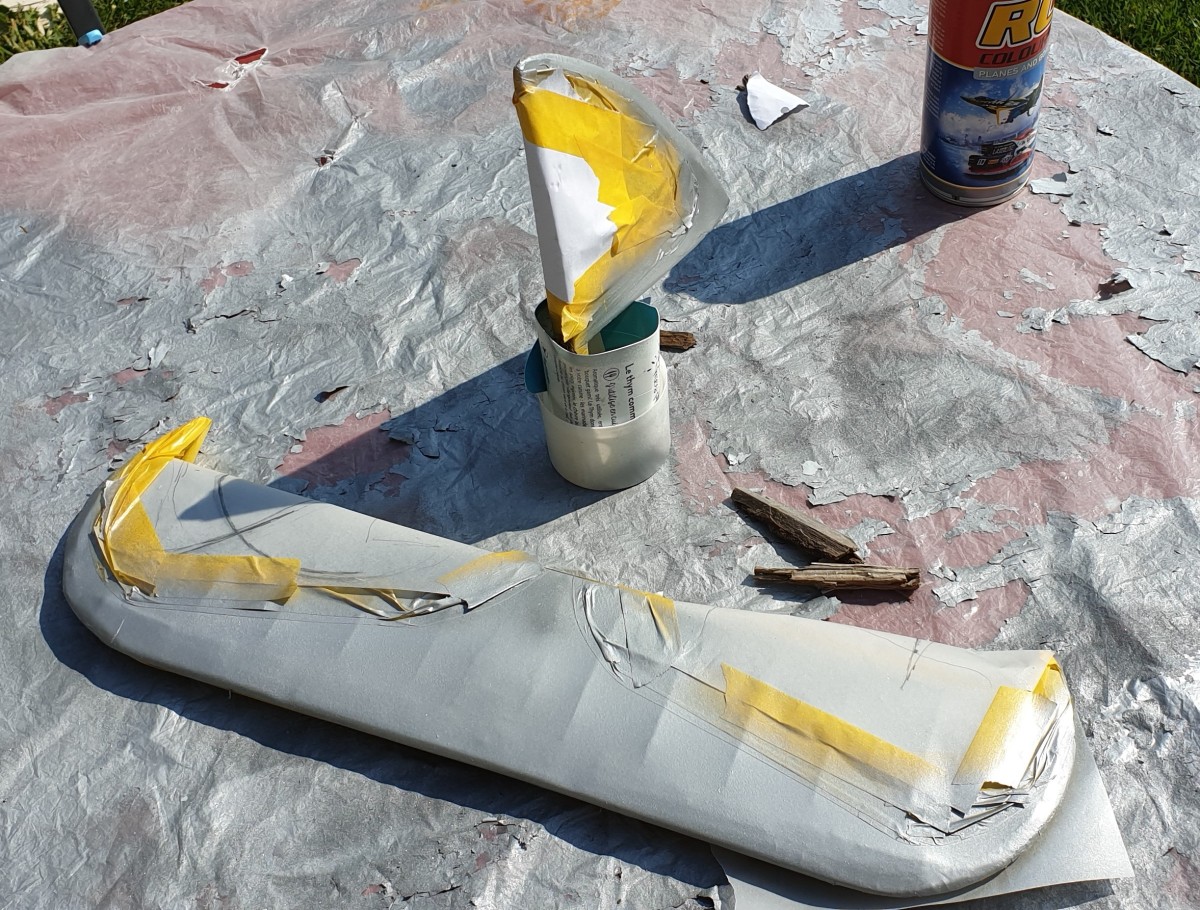
The weather is nice (even in Touraine ..). I requisitioned the garden table for painting.
I started by reproducing the tip of Pascal (Allalou) on his site, namely a fine veil of gray first to plug any pores and avoid infiltration under the tape.
Then the red one

I removed the masks and …. It’s all good ….