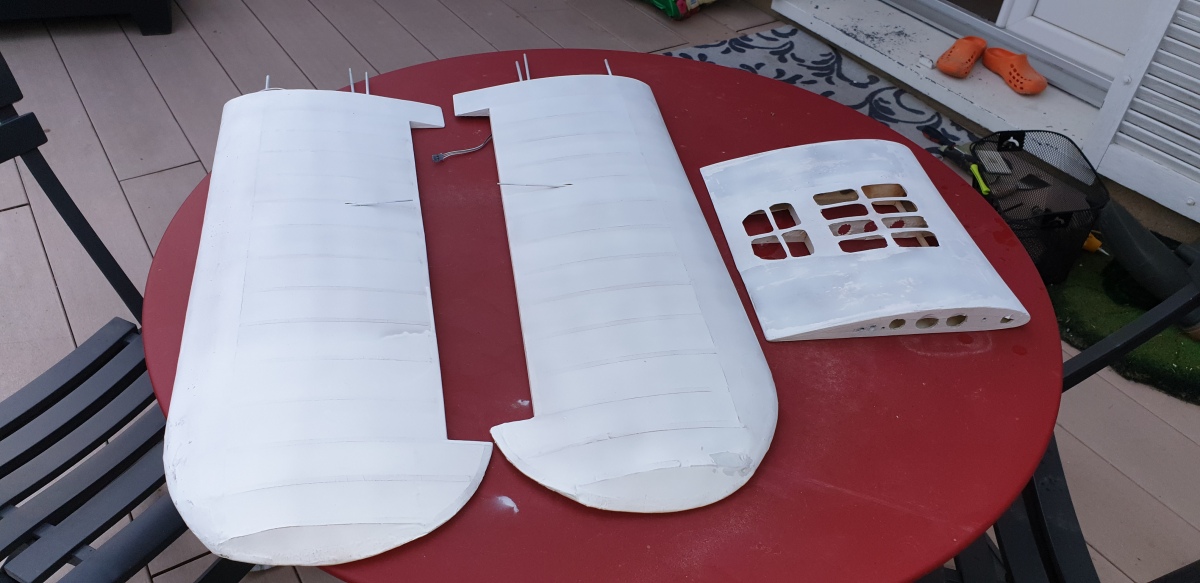
I started finishing the wings with the primer. And there disaster, the rendering was horrible. Consequently, I tried an additional masking. I sanded and re sanded and I end up making holes in the canvas. …
After careful consideration, I decided to unstitch and start again. Doing and redoing is not undoing
After removing the canvas, I weighed my 2 wings.
And there, I realized that I had 25 g of difference between both…
I covered again with solartex my wings. This time I’m happy with the look. Phew. I weighed the wings again. I am at 282 g for 1 and 305 g for the other one, 23 g different… Then I sprayed 2 coats of primer and sanded lightly with 1000 water sand paper .

Then a layer of gray on the upper surface

But only the upper surface, because the new gray bomb to be started does not work…. it annoys me all the more at the price they are … In short, I press the nozzle fully and nothing happens including changing the nozzle. So it must be the seal that is blocked.
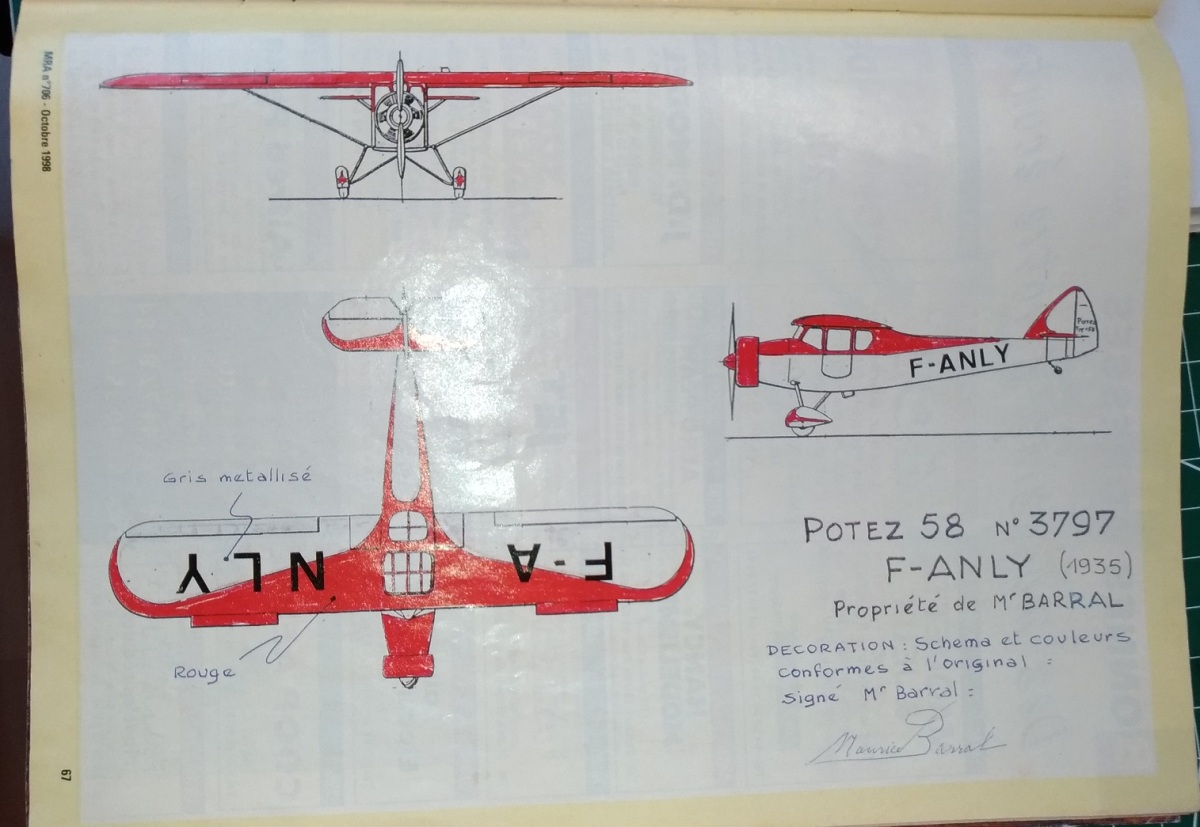
I ordered a new spray can of gray paint and I took over the finishing of the wings of the Potez58. To start, I used the photo of the plan 3 views certified exact to identify what should be painted in red.

The wing is made up of 3 parts, 2 external and 1 central. I will have to draw the area to paint in red and of course that the junction between the elements is perfect. In addition, the end of the “red zone” on the central part must end at the edge of the wing, in the exact place where the central part will join the fuselage.
After consideration, I took the plan and I have traced on tracing paper, one external part and the central to join them as they will be assembled together.

Once done, I positioned them on the 2 parts of the wing, just to verify that the construction is consistent …

I did the same for the fuselage and I assembled the plane reproduced on the tracing paper

Starting from that and the 3 views representation, I have drawn the red zone on the upper surface.
The central part is painted first. Then I assembled the external part with the central part to check that the junctions are going well.

I did the same work with the other wing and for the lower surface. Of course, the red zone is different.
I caulked, checked with the central part.

And hop, the 2 external parts are dismantled and a layer sprayed on the upper surface.


