
So I have 3 openings under the fuselage to close. One above the intermediate horn, which will be glued, as normally, I shouldn’t have to reopen it. If necessary, I’ll just take it off.
The central hatch is the one that will be located above the servos and the batteries. So it will be open frequently. It will be fixed with neodymium magnets.
The last will be located at the front above the throttle servo and the glow plug heating battery. Small difference with the full-scale plane as it will be screwed.
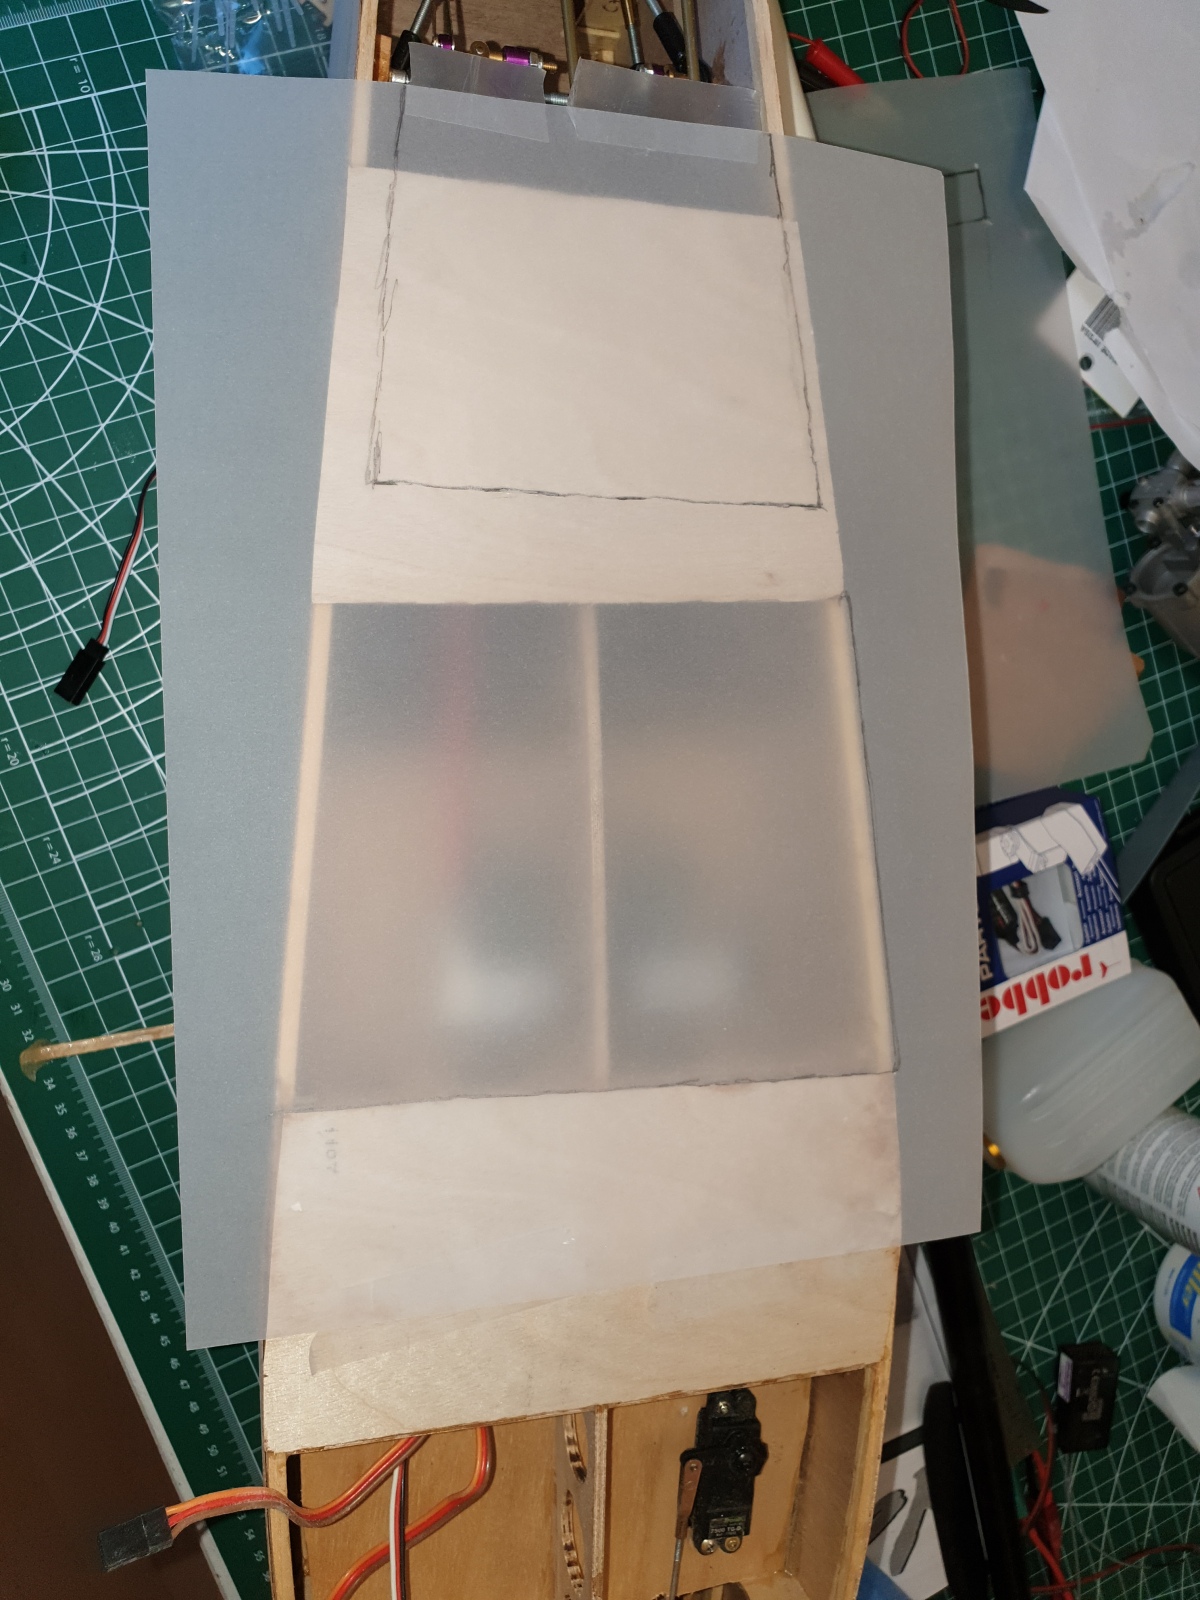
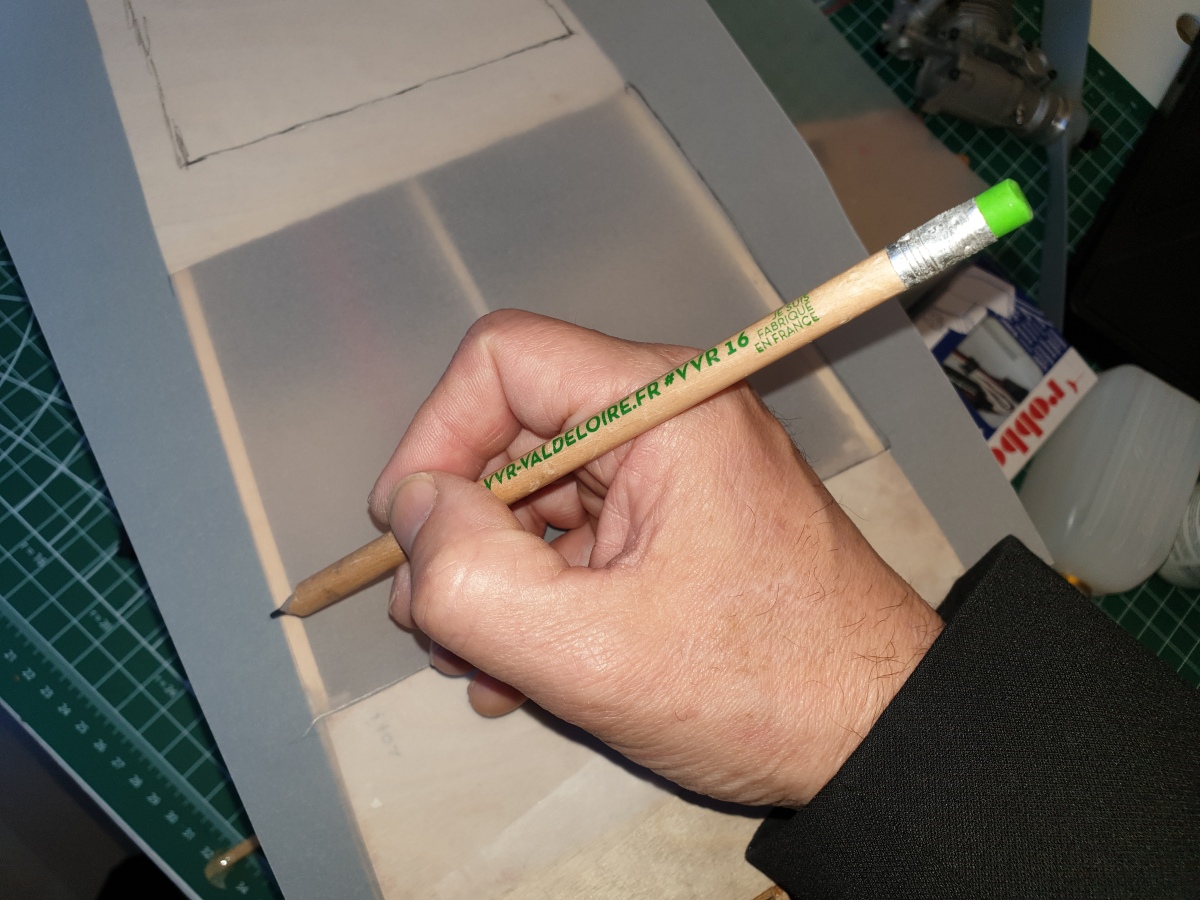
To start, I took a tracing paper, which was taped above the opening. With a wooden pencil, I have drawn along the adjacent edges and thus I had the exact shape.
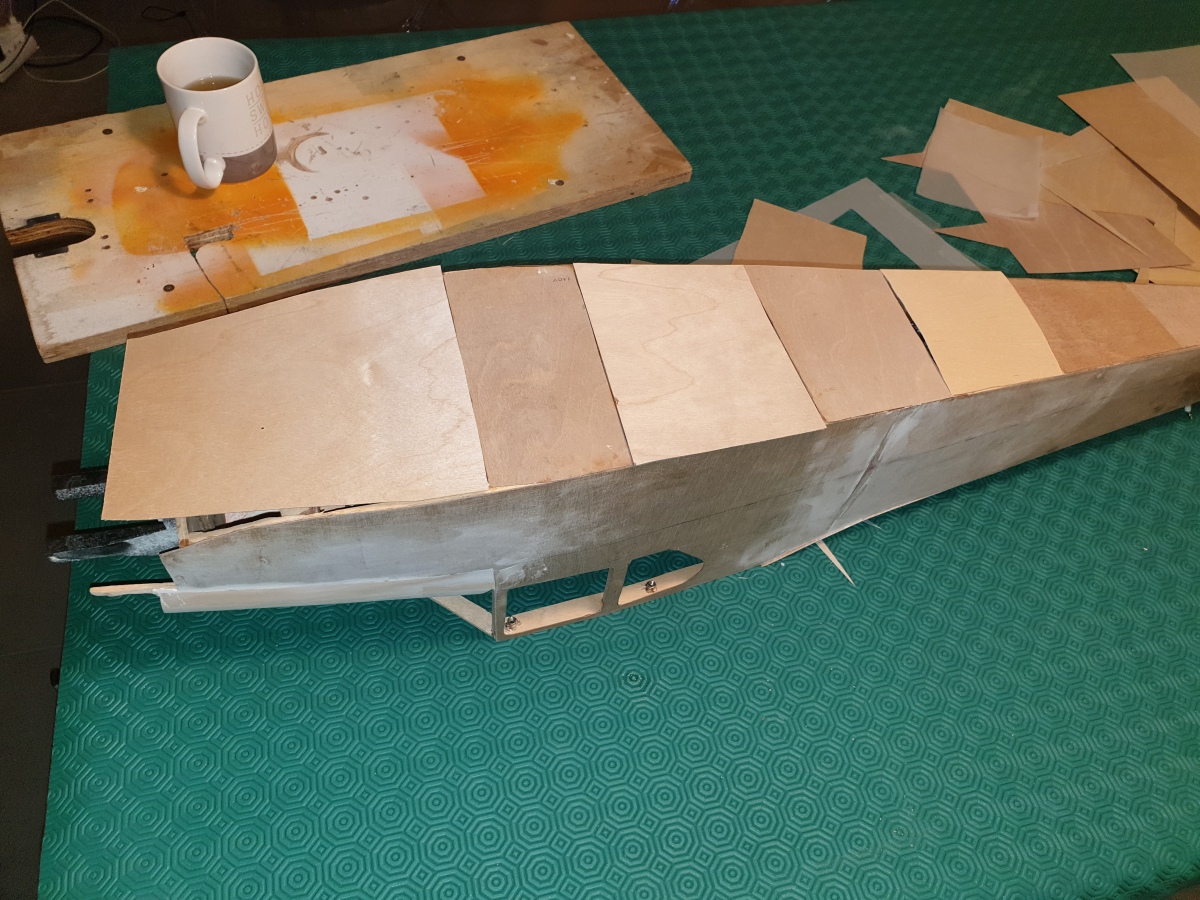
Then I cut the shapes out of 0.6 mm plywood and presented them on the openings.

The one behind the intermediate horn is just glued, so it’s not very complicated. It will be necessary to make up for the offsets with filler for a tremendous finish. Of course, I have noted the trap position on the plan, because you never know if I need to take off again ….
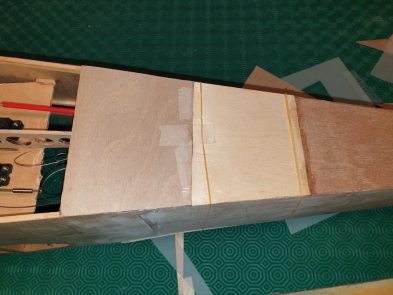
The central hatch should be opened regularly as it will give access to the servos. So I placed pieces of balsa with pieces of skewer (round wood) which will be inserted like studs in the couple which is located just behind the hatch.
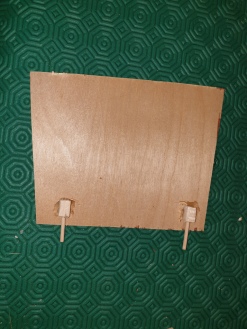
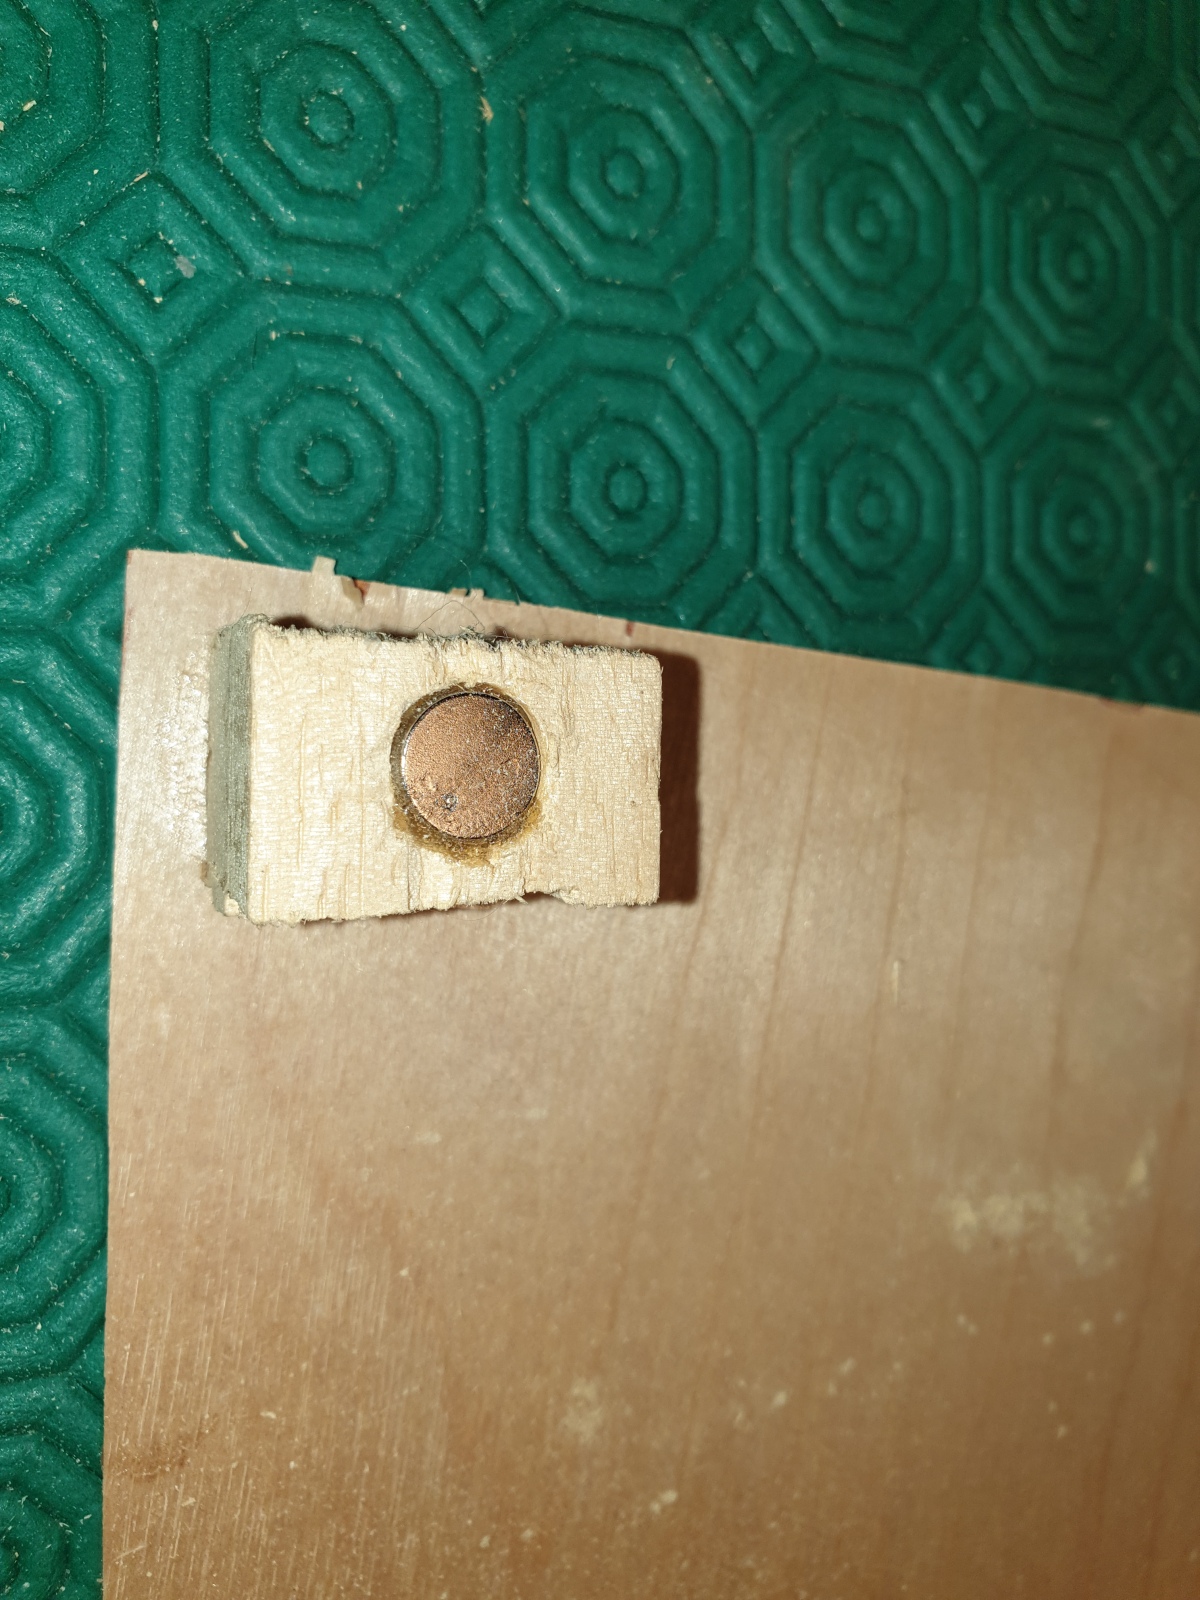
On the front part, I will put the closing magnets. I started by cutting a piece of balsa

I took the Dremel to reserve the shape of the magnet

I glued the magnets on the support and then the assembly on the front hatch. Of course, I took the measures in the fuselage so that the supports exactly fall where it is necessary in the fuselage …

I let dry before continuing
In this photo, you can see the studs in the fuselage with the magnets. To be sure that they are in the right place, I sticked the magnet on the support. When it is dry, the magnets of the hatch and the stud intended for the bottom of the fuselage, are brought into contact. I put glue on the support balsa where it will rest in the fuselage. I installed the hatch and closed. The support which is fixed on the magnet of the hatch comes to rest naturally on the bottom.


On the following photo below, the fuselage is placed upside down and you can see the hatches in place.

You can see that I did not close the front part. I will do it later, because I need a better idea of the placement of the batteries for the center of gravity.
Much work remains. The seats of the elevator, the lifting spouts, the landing gear, the hood and the wheel covers. And of course, the coatings, primers, paint and all the model finishing (rivets, false hatches, cabs …).


