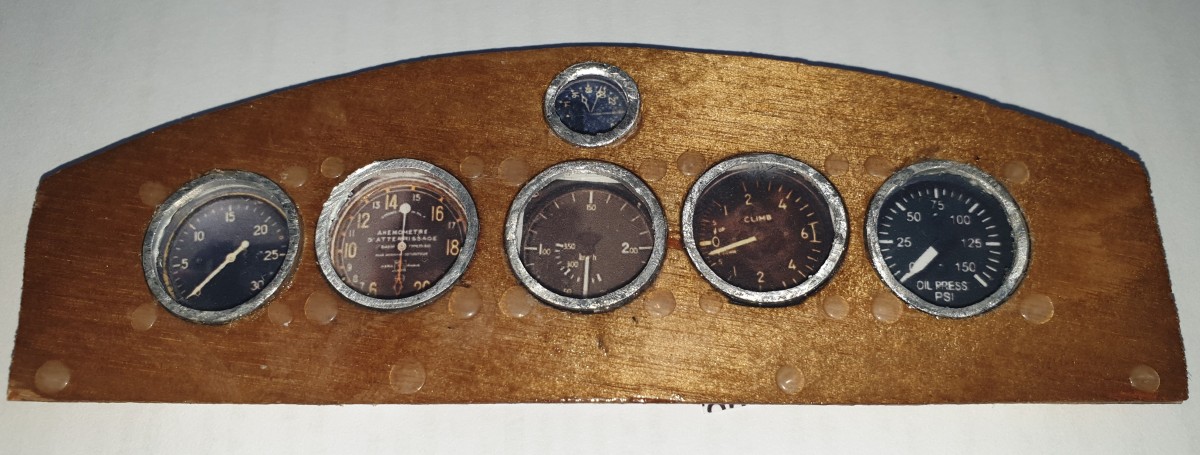
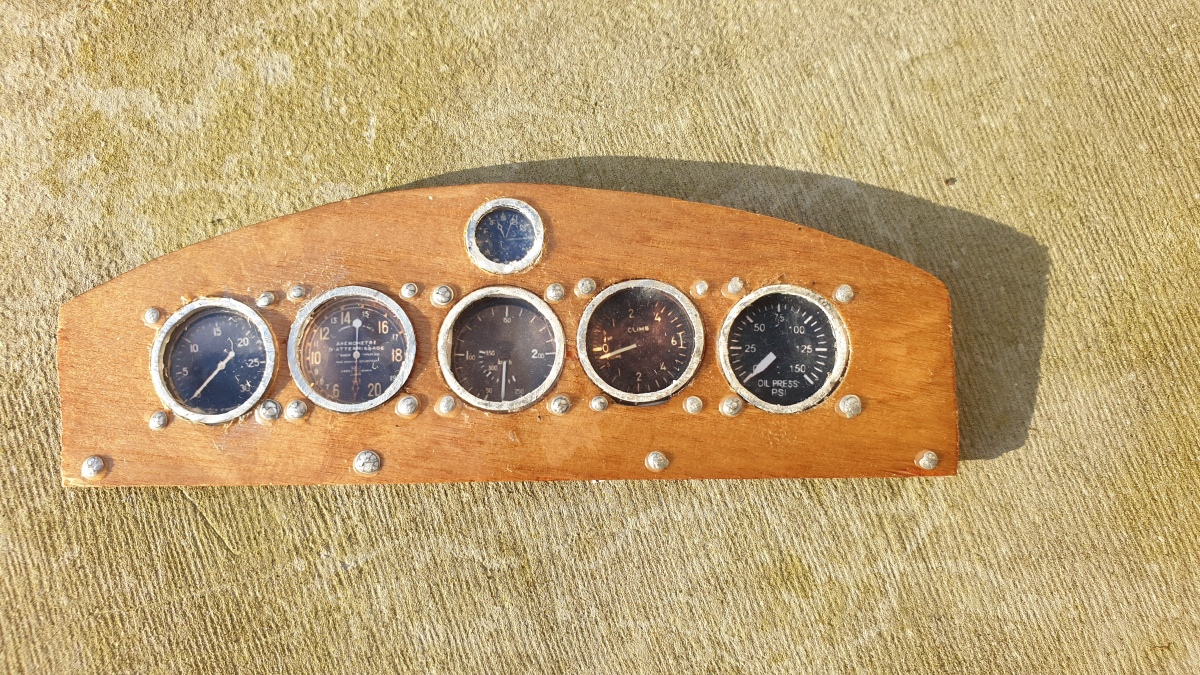
The dashboard is not yet finished. It lacks a lot of details and in particular the rivets fixing instrument and those allowing to fix the board on the chassis in the cockpit.
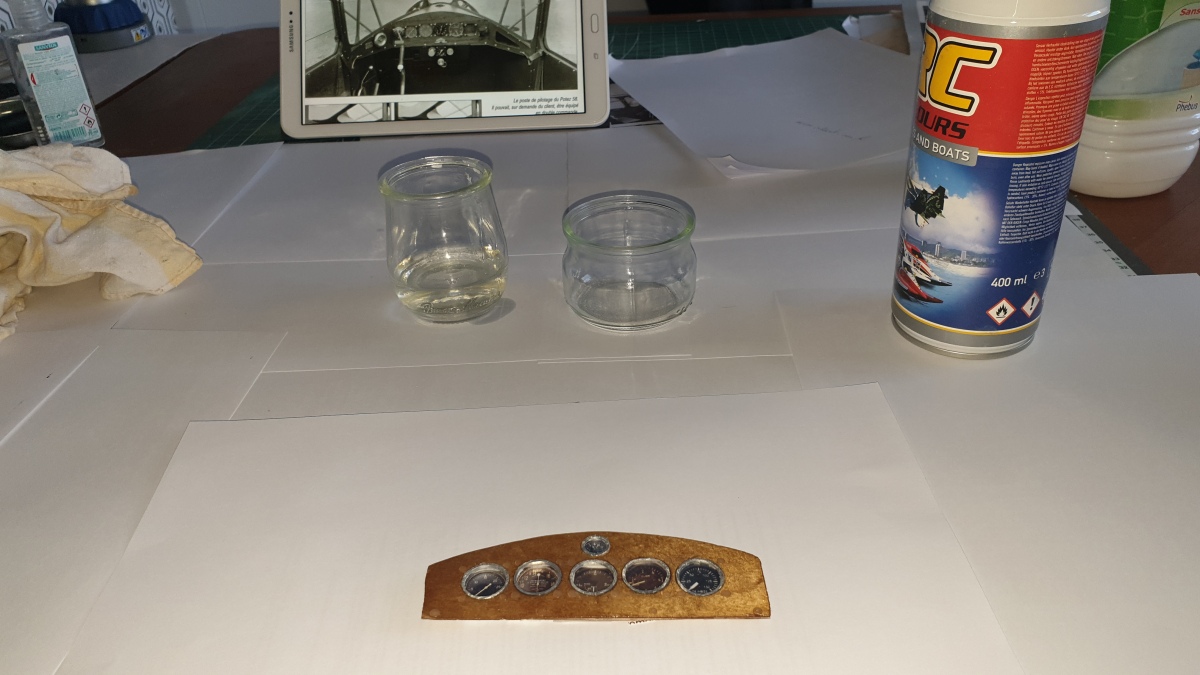
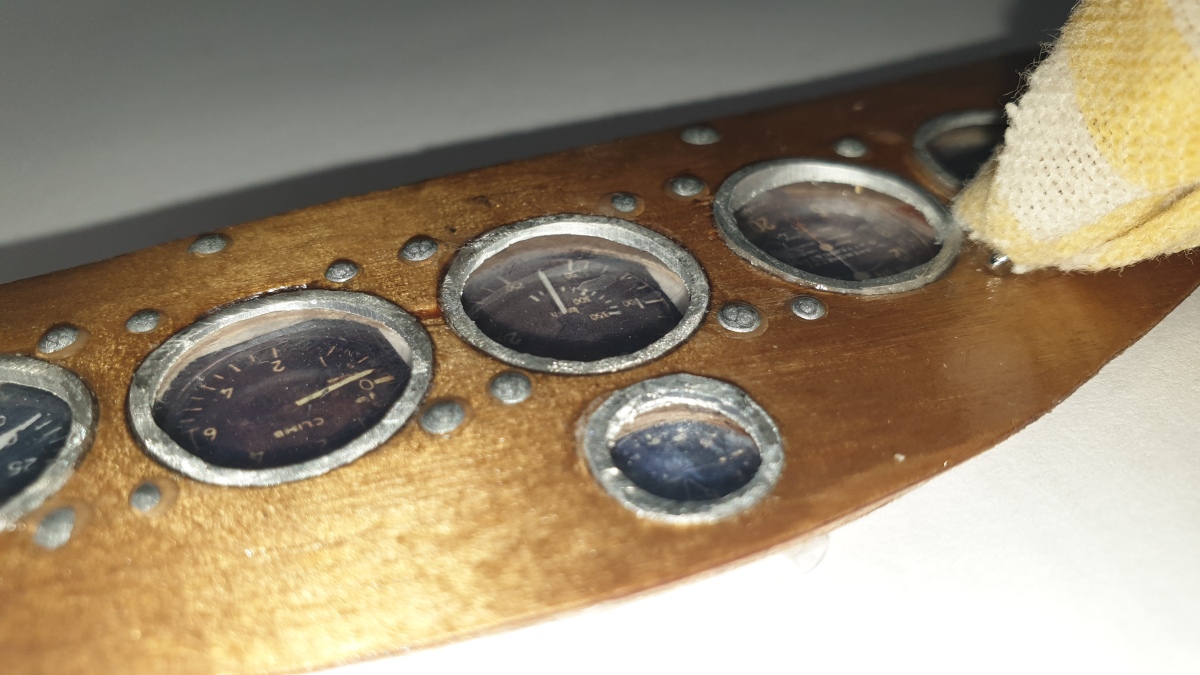
So I started laying the rivets with a drop of white glue diluted slightly in water. Here is the result below as soon as the glue is applied and once dry

It is now a matter of painting them in metallic color to look like the real ones. To do this, I took metallic spray paint which I put in a glass container. Another is filled with white spirit to correct errors and clean up; The rivets are painted with a fine 0.8 mm carbon rod just dipped in paint and deposited on the rivets without shaking. In case of error or bad deposit, I used a fine forceps at the end of a cloth dipped in white spirit and I was able to clean.
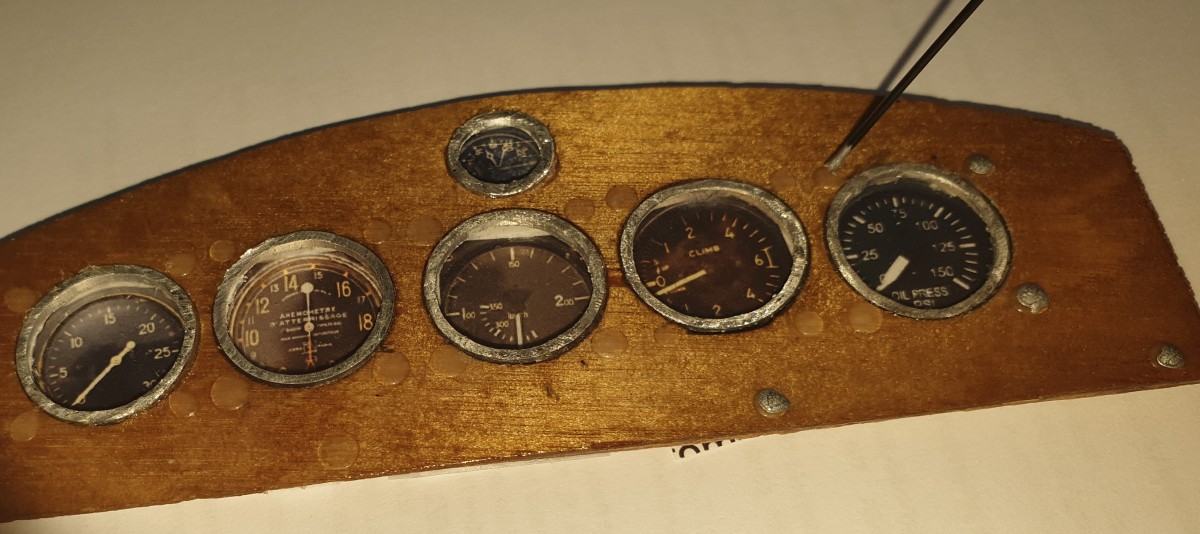

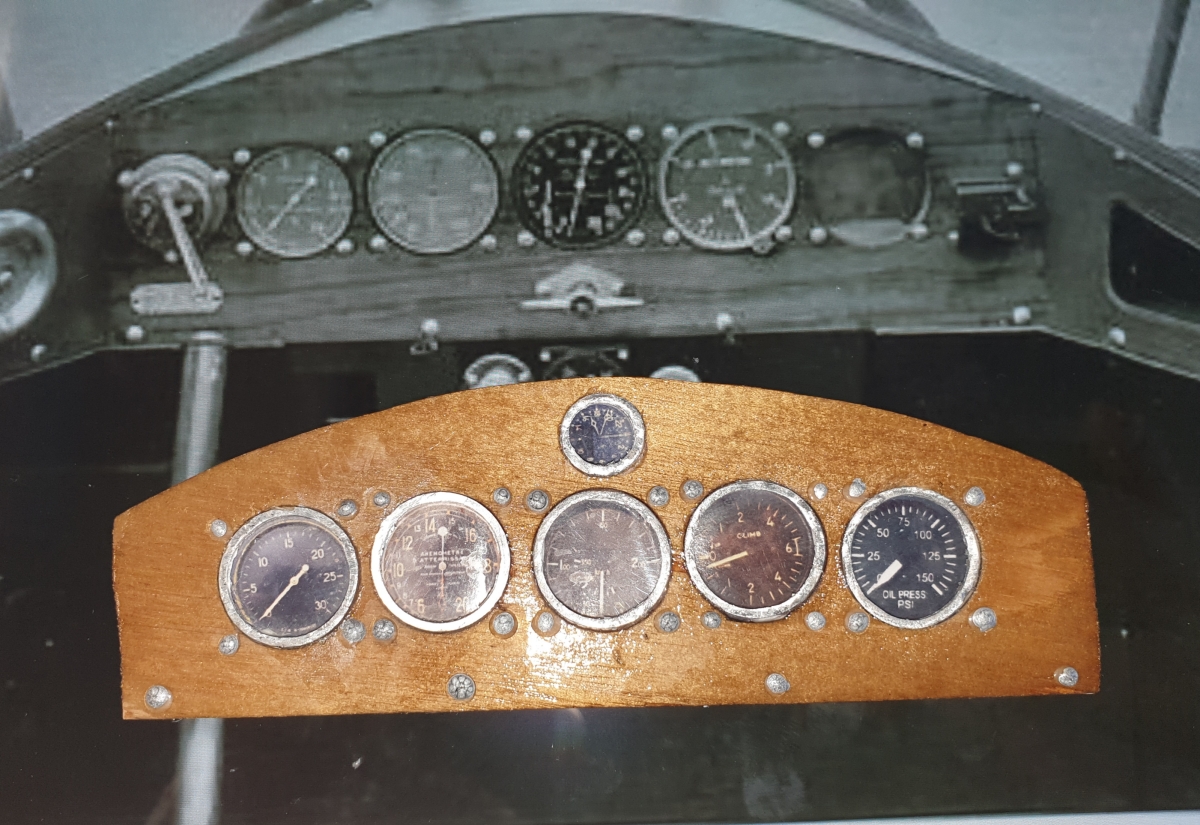
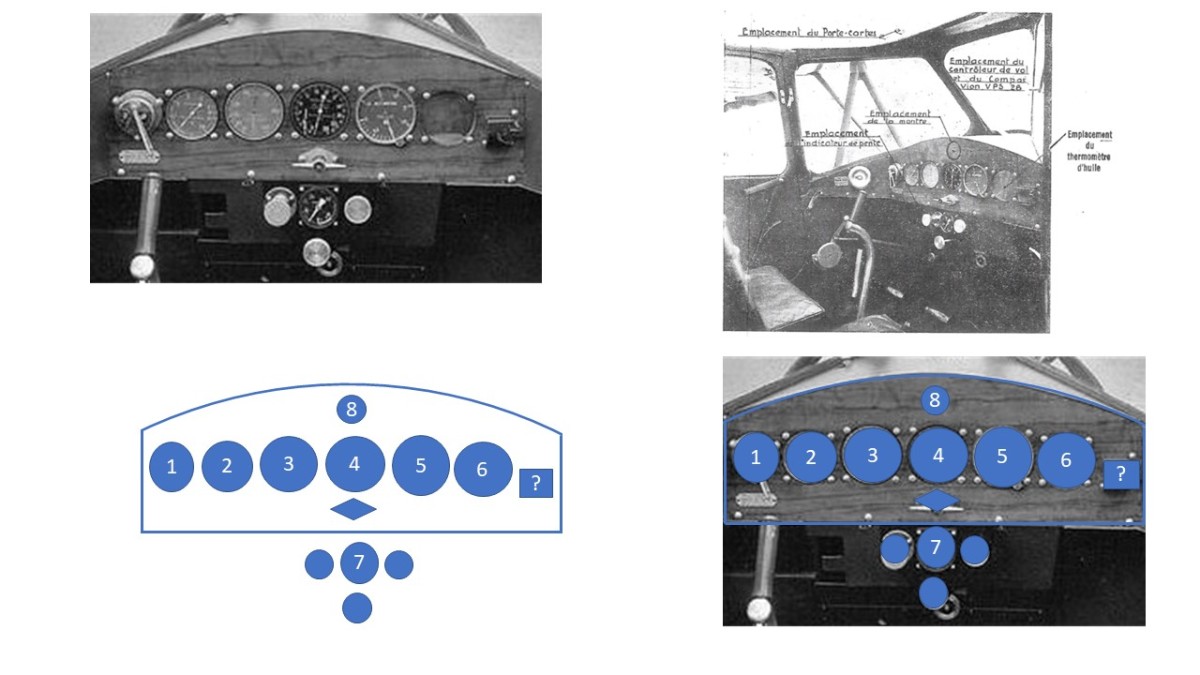
Below is the dashboard next to the image of full scale cockpit image . There are of course instruments to be made, the magneto on the left and the one on the right that I do not know. If you know what it is, tell me, it will be super useful for me. Thanks.