
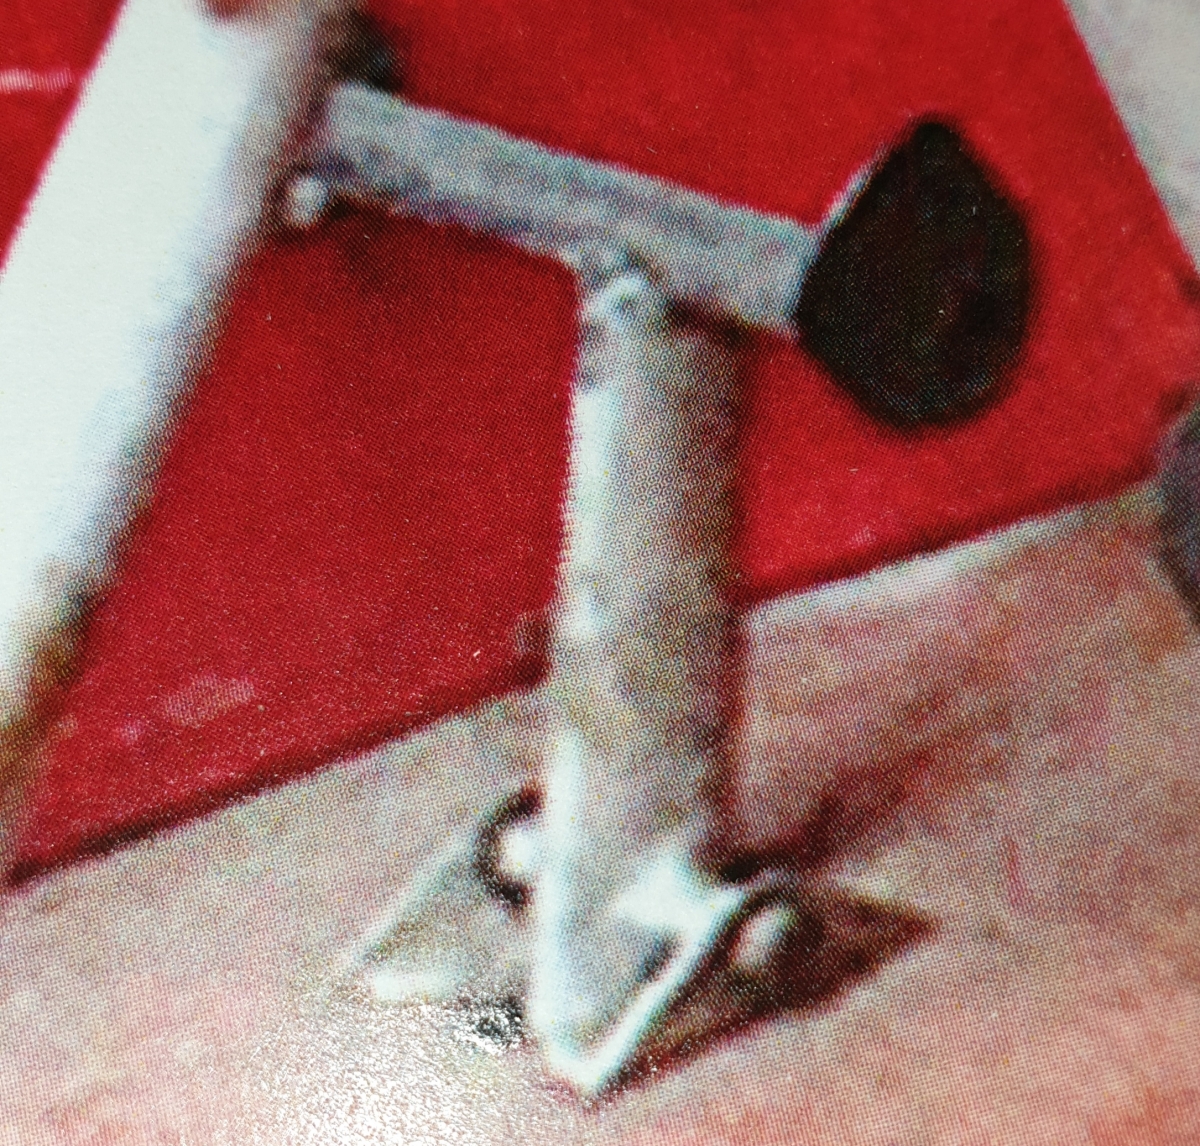
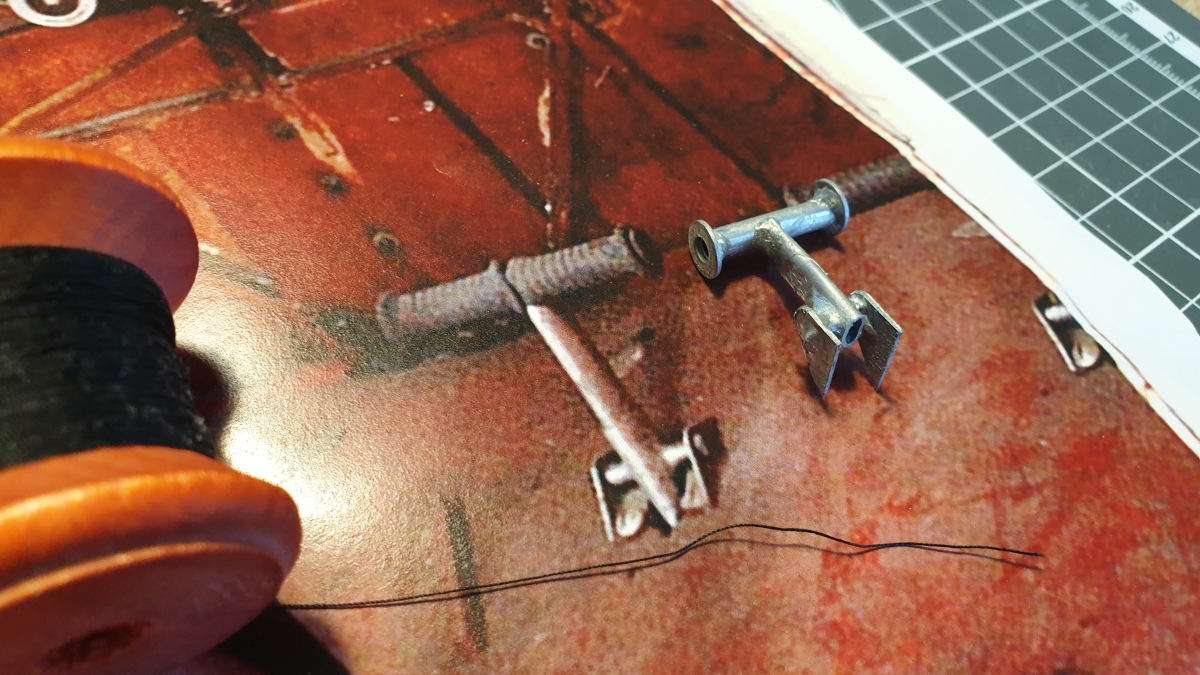
I’ve started reproducing the pedals. I couldn’t find a representation of the systems on Potez 58. There’s no documentation available. But the Potez 58 is a direct derivative of the Potez 43, so I used photos of the 43 to copy to the 58. I think that way I won’t be too far from the truth.
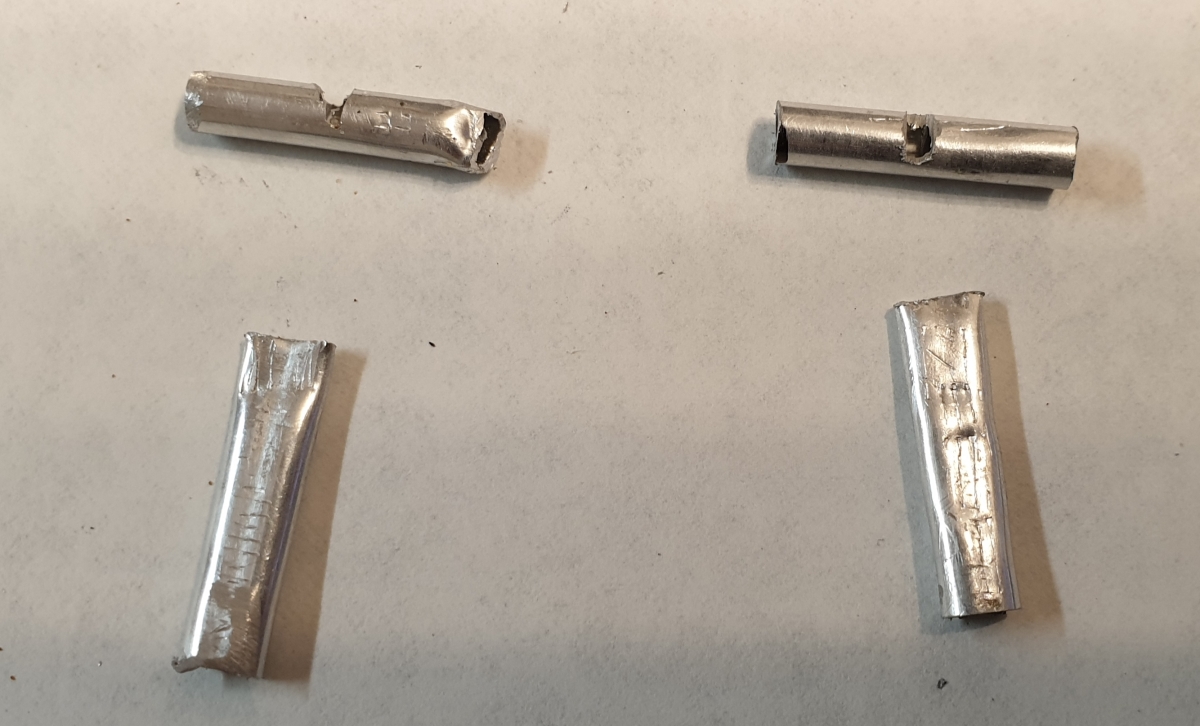
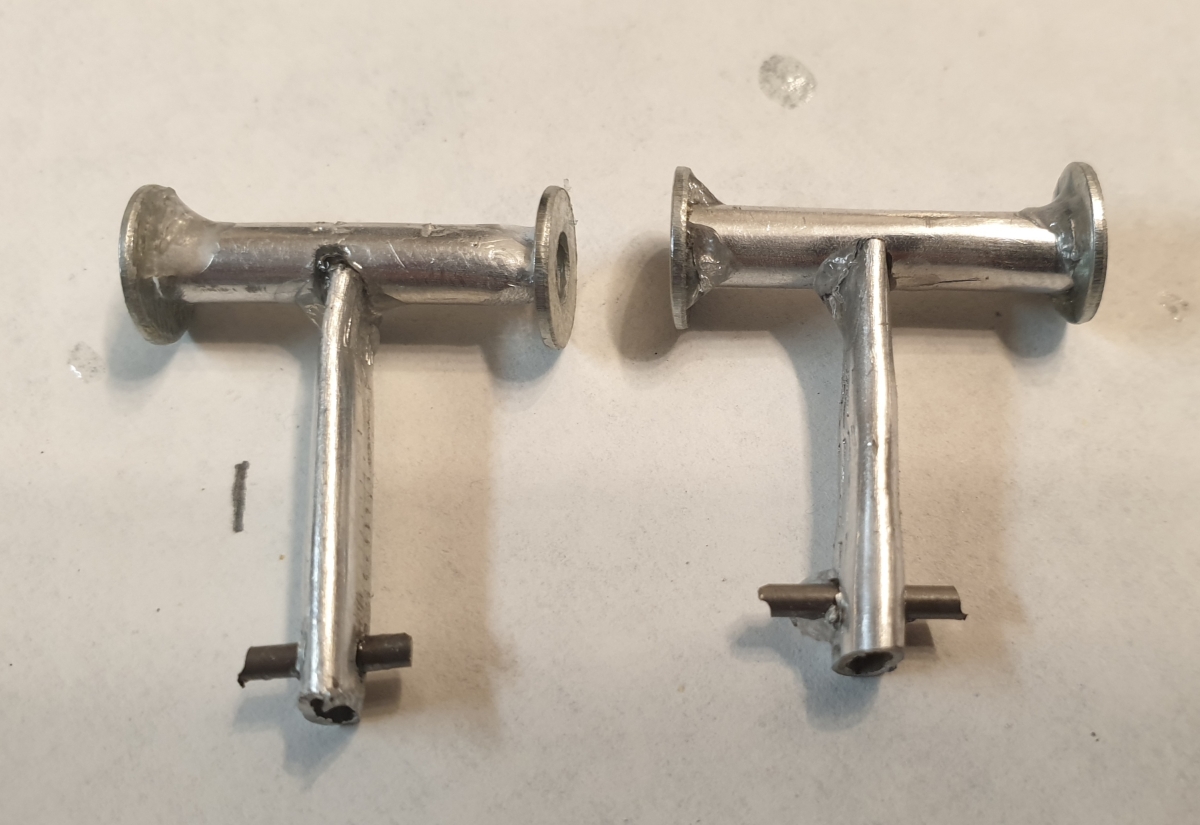
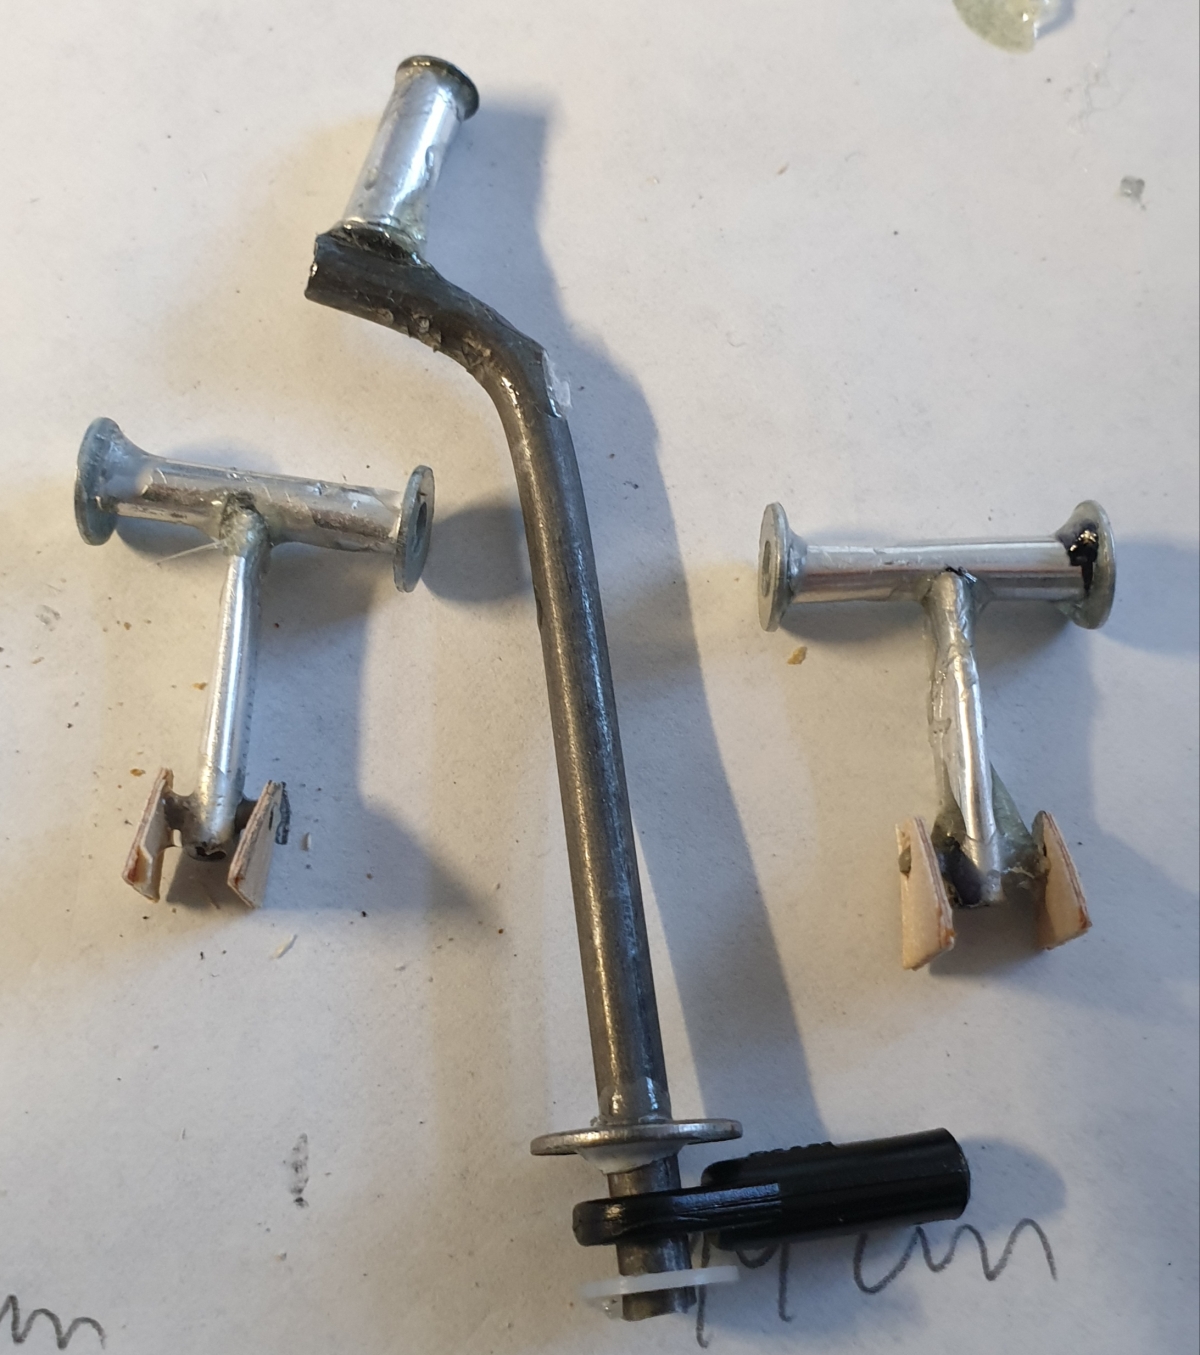
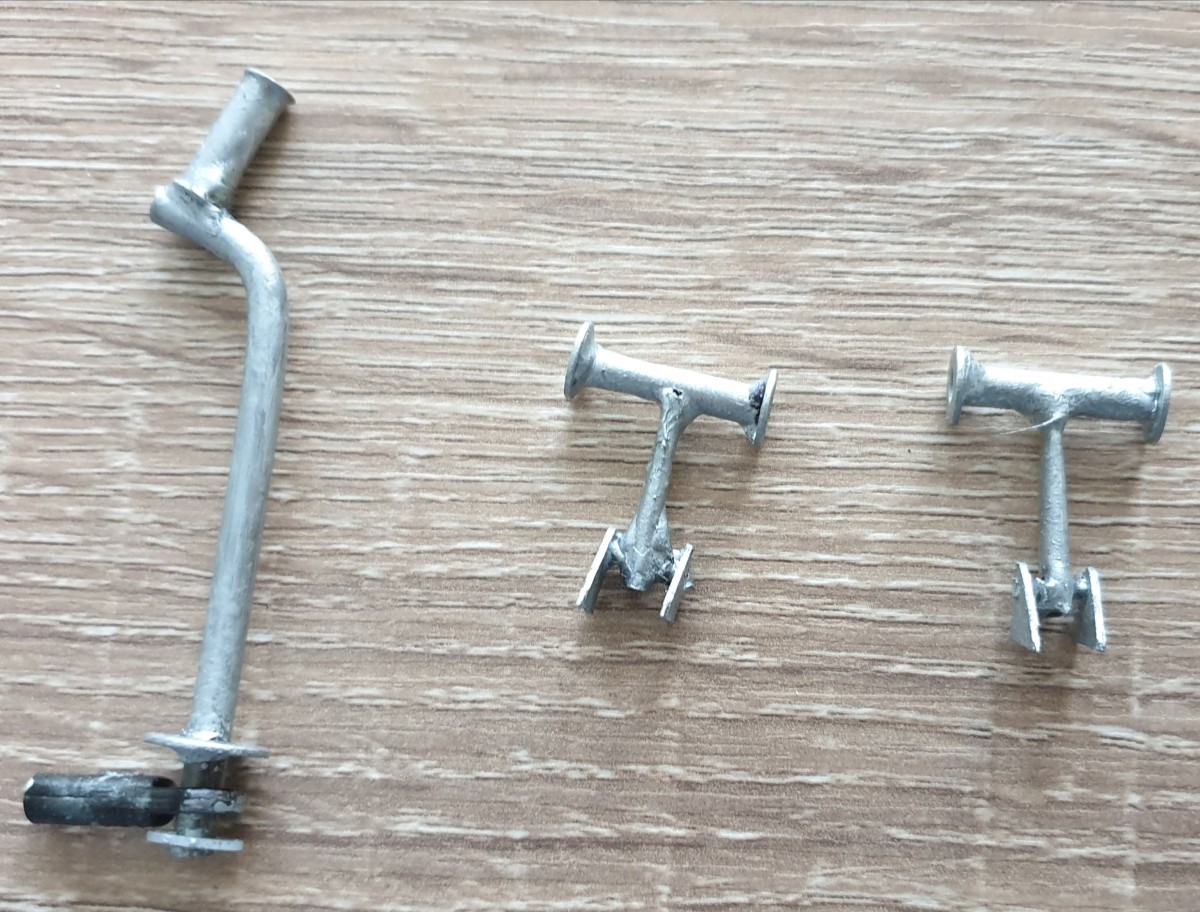
For the axis, I used 3 mm aluminium tube that I ovalized with a pair of pliers.
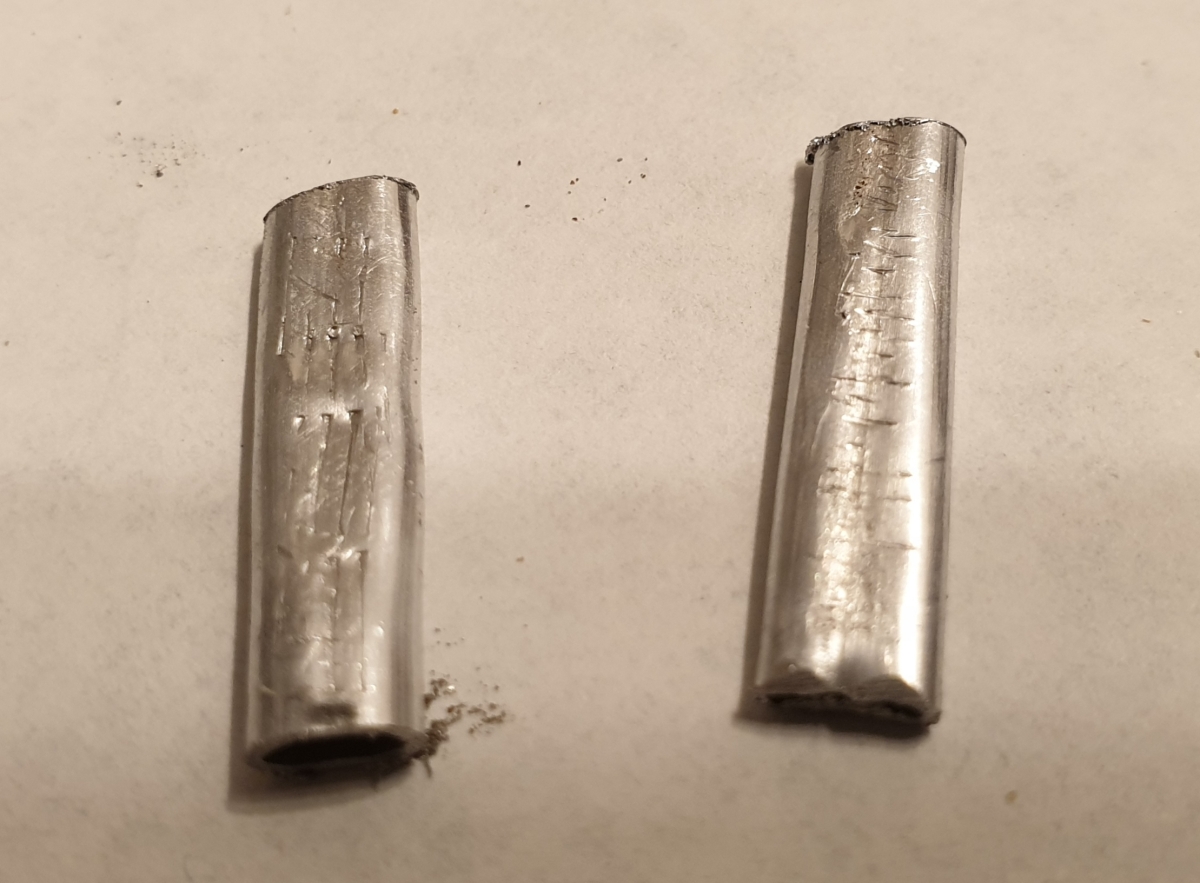
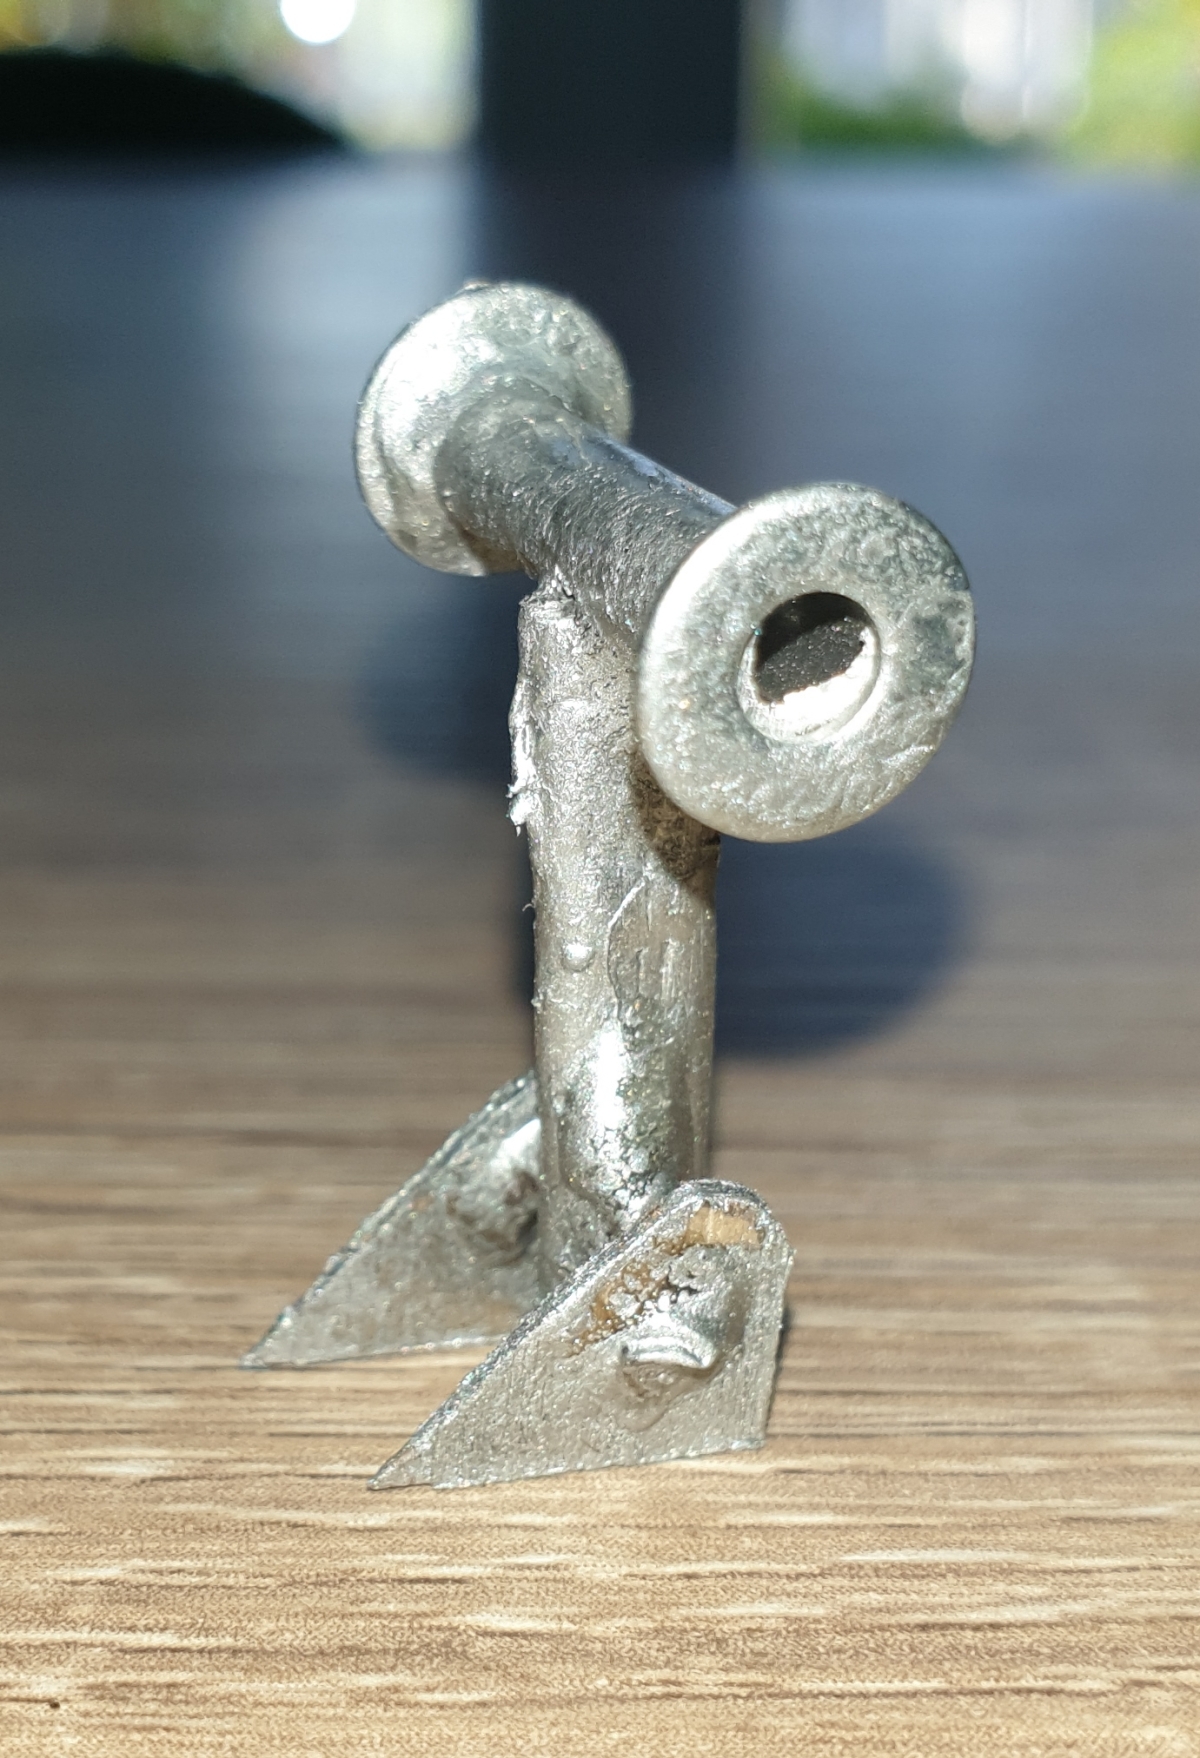
For the footrests, idem, 3 mm tube not ovalized this time.
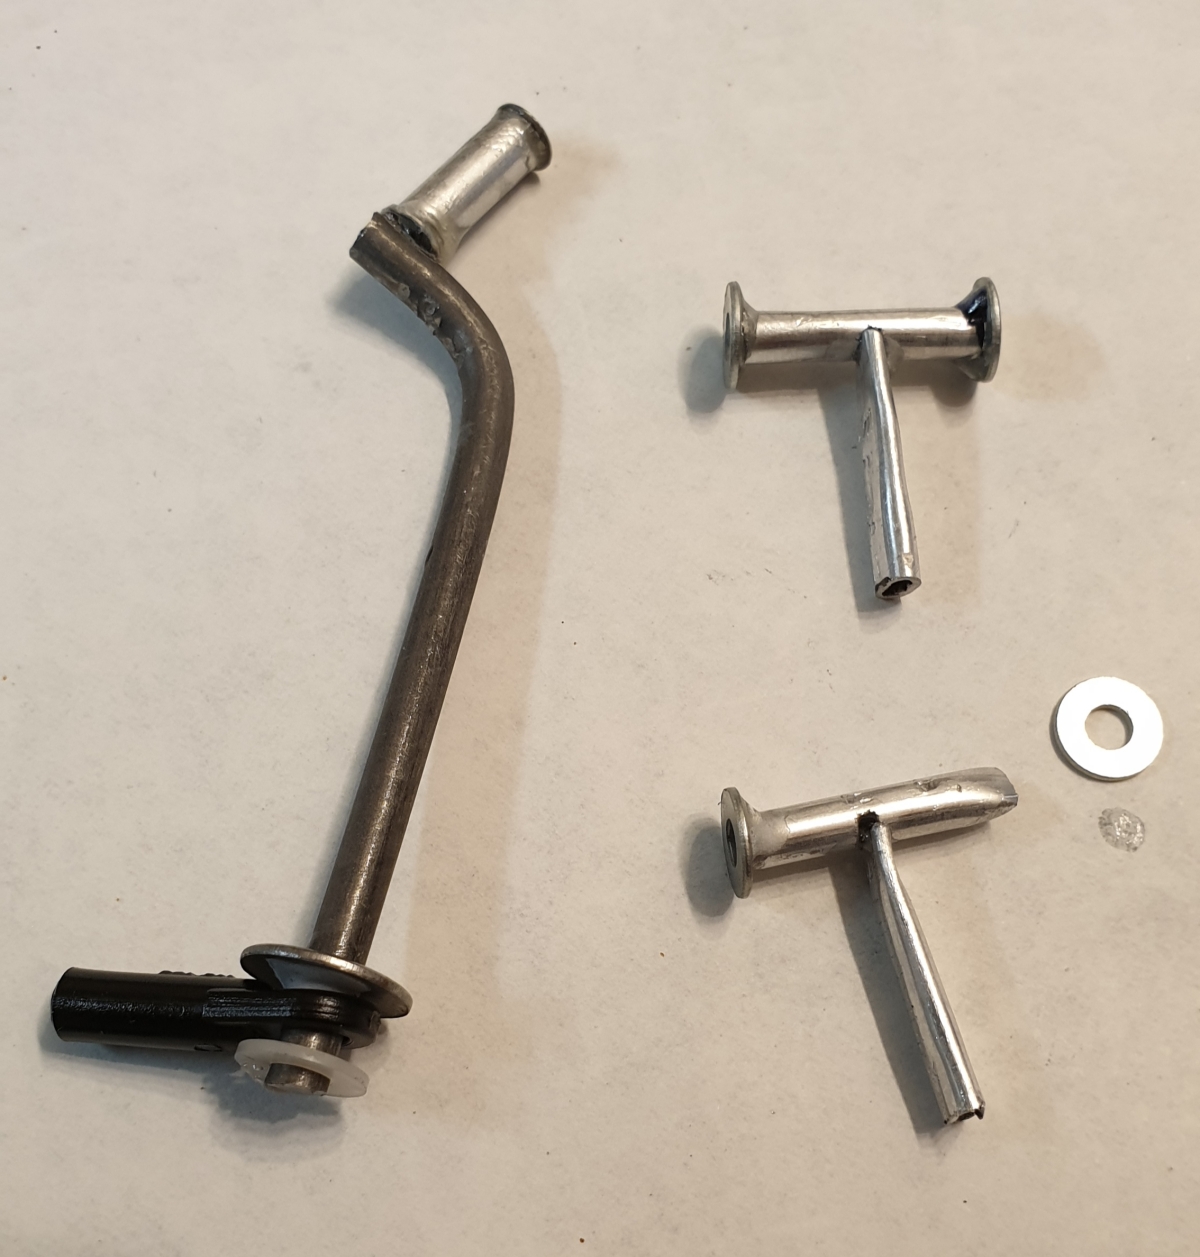
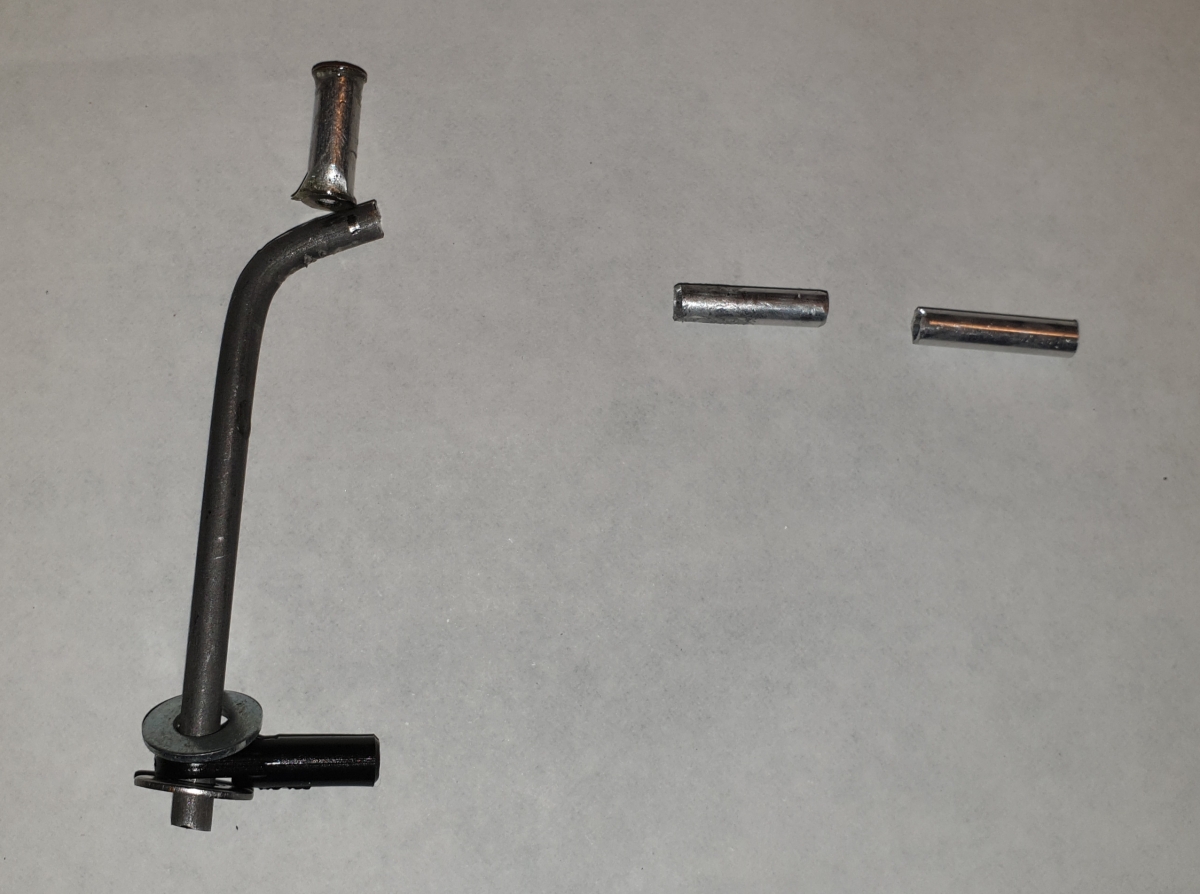
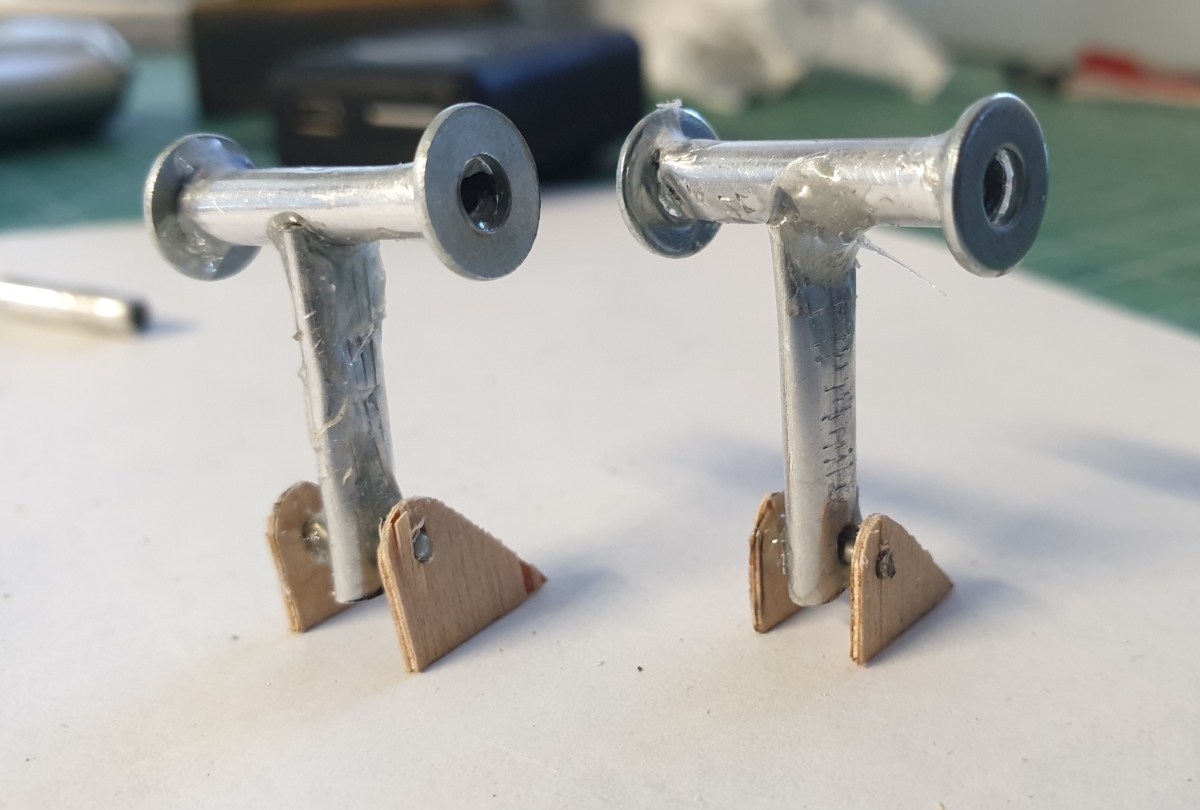
I made a dremel slit in the pedal rest. I then inserted the axle in the slot and glued it. I glued the washers to the end of the footrests. At the bottom of the axle, I drilled and inserted a thin metal rod. This will be inserted in a metal plate glued on the floor support. The yoke is made of a 3 mm piano wire and an aluminium tube and a washer.

j’ai reproduit en contre-plaqué de 1 mm les plaques métalliques pour supporter les pédales sur le plancher.
A small coat of silver paint gives a certain look and resemblance.
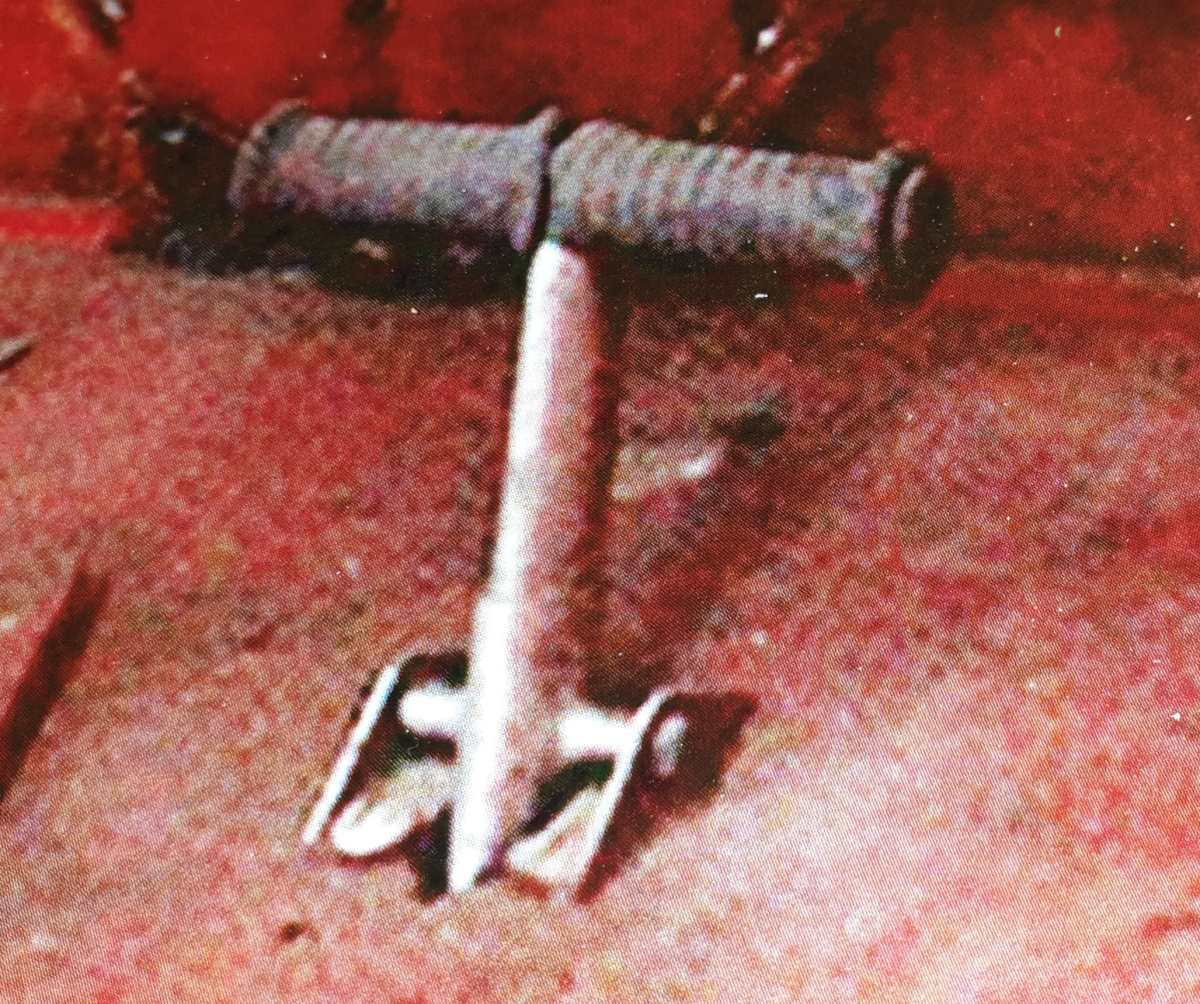
If we look carefully at the original photos, the pedal was covered with a rubber band and grooved, to prevent the foot from slipping. To reproduce it, I first used black sewing thread.
I made laps with 6 turns of threads per stripe, lightly glued with cyanoacrylate and spaced very evenly. I used a surgical type of pliers to position the thread in place.
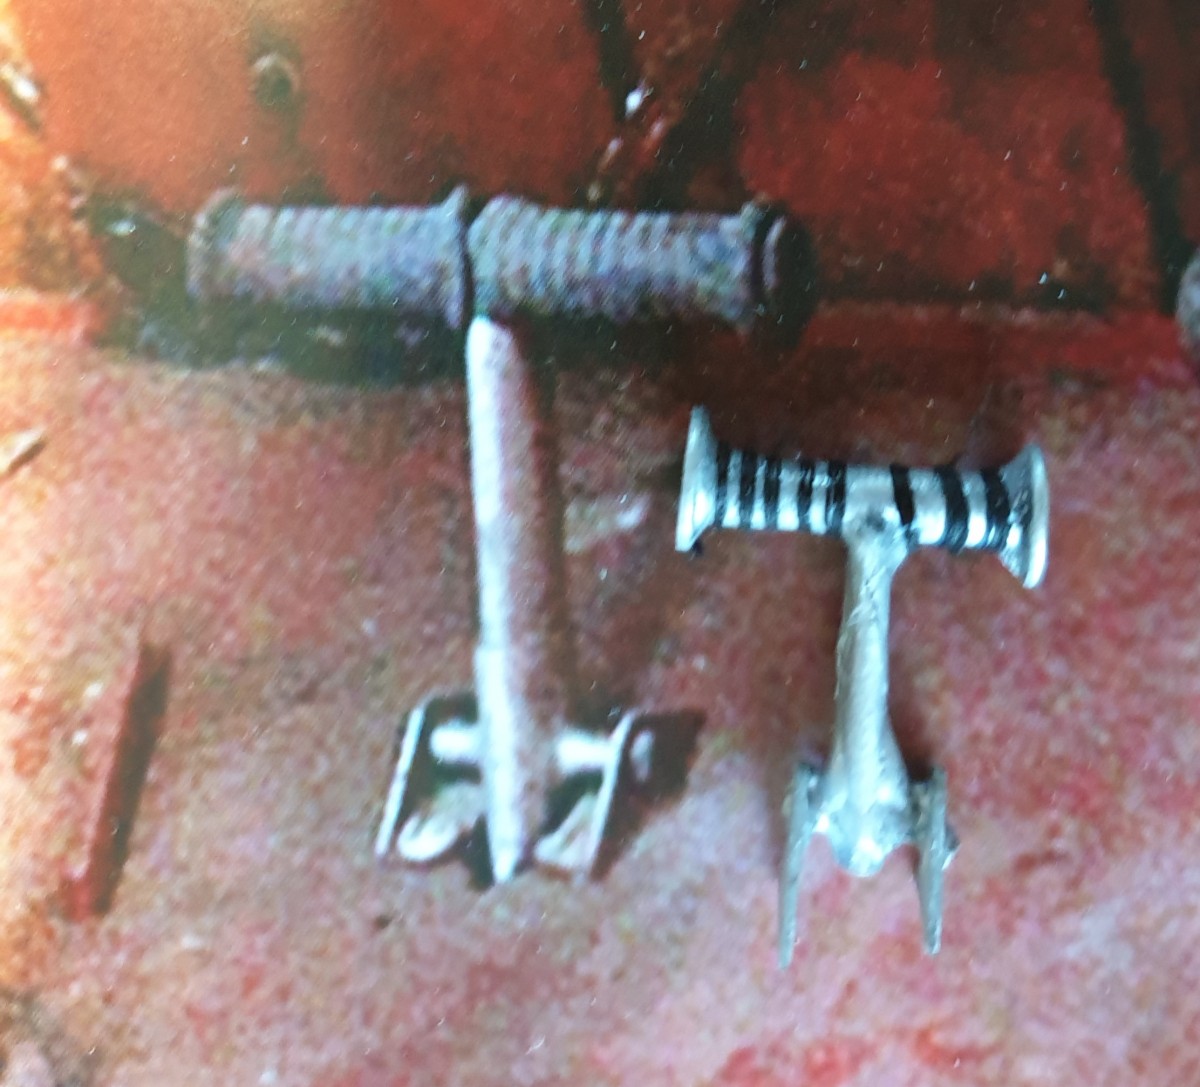
Then I used a fine brush to add black paint on the top of the pedal. The result is satisfactory. The piece is only 1 cm long and the pictures below are taken in close-up, but the rendering in real life is better.


Drilling a hole for the yoke. For the fixing, I will use washers and a clevis pin to keep the mobility of the handle as on the real one.
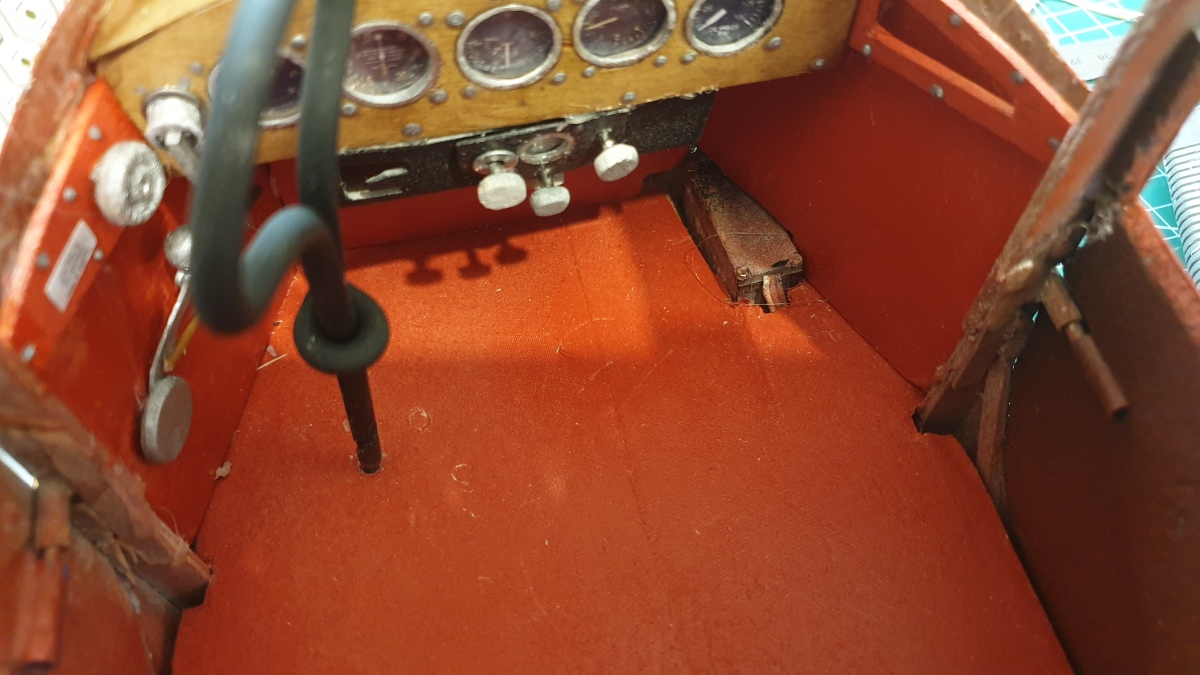
Then I glued the yoke and pedals in place. And here is the result in pictures.


And two photos with me as a bonus, on the one hand so that you have a better idea of the scale, and on the other hand because I’m happy with myself.


