I continued to reproduce the seats to scale to dress my cabin.
Reproducing the front seats, seems more complex than the back seat. Fortunately in the documentary resources provided by the GPPA, I have below the photos and diagram of the seats of the full-size aircraft.

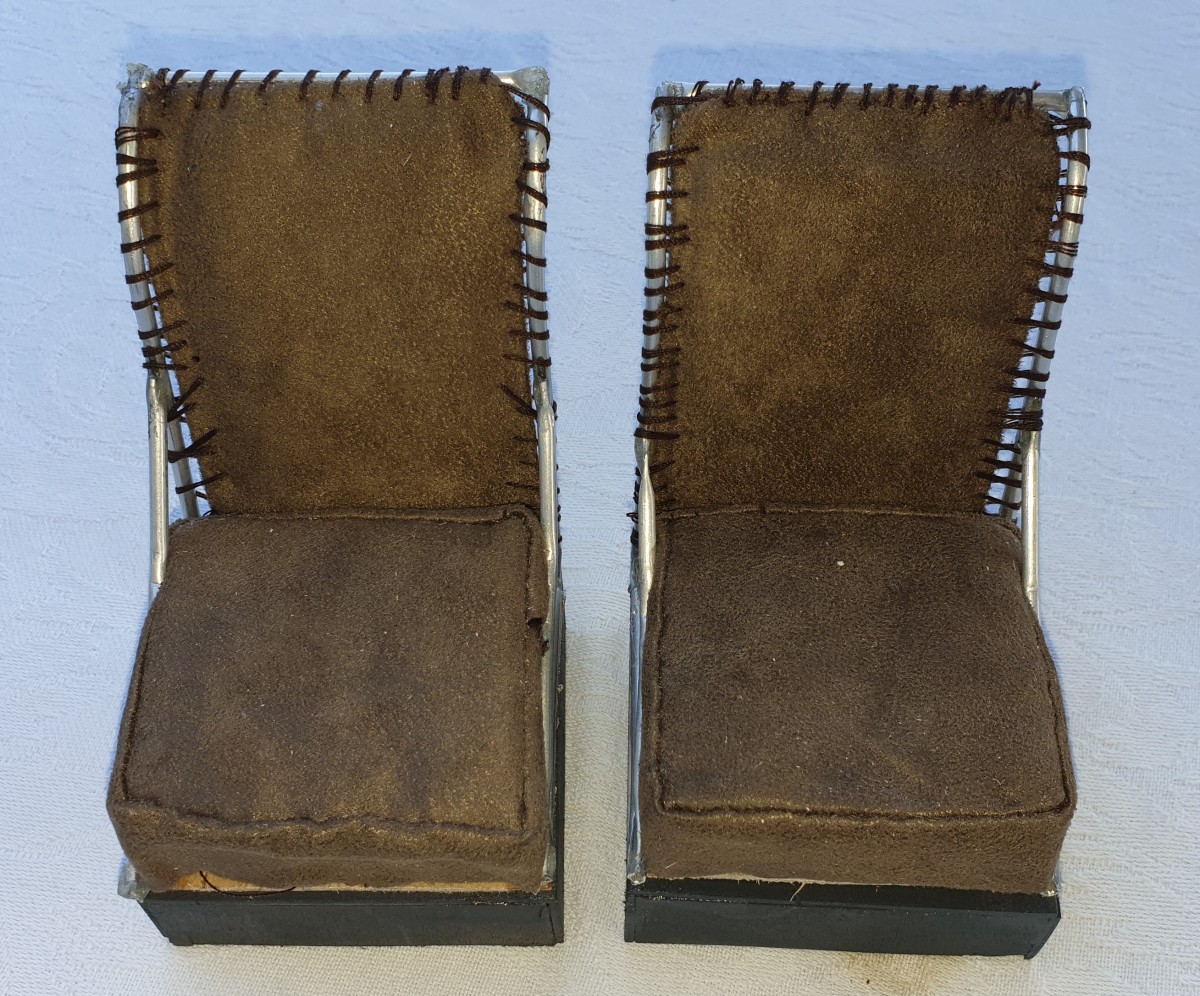
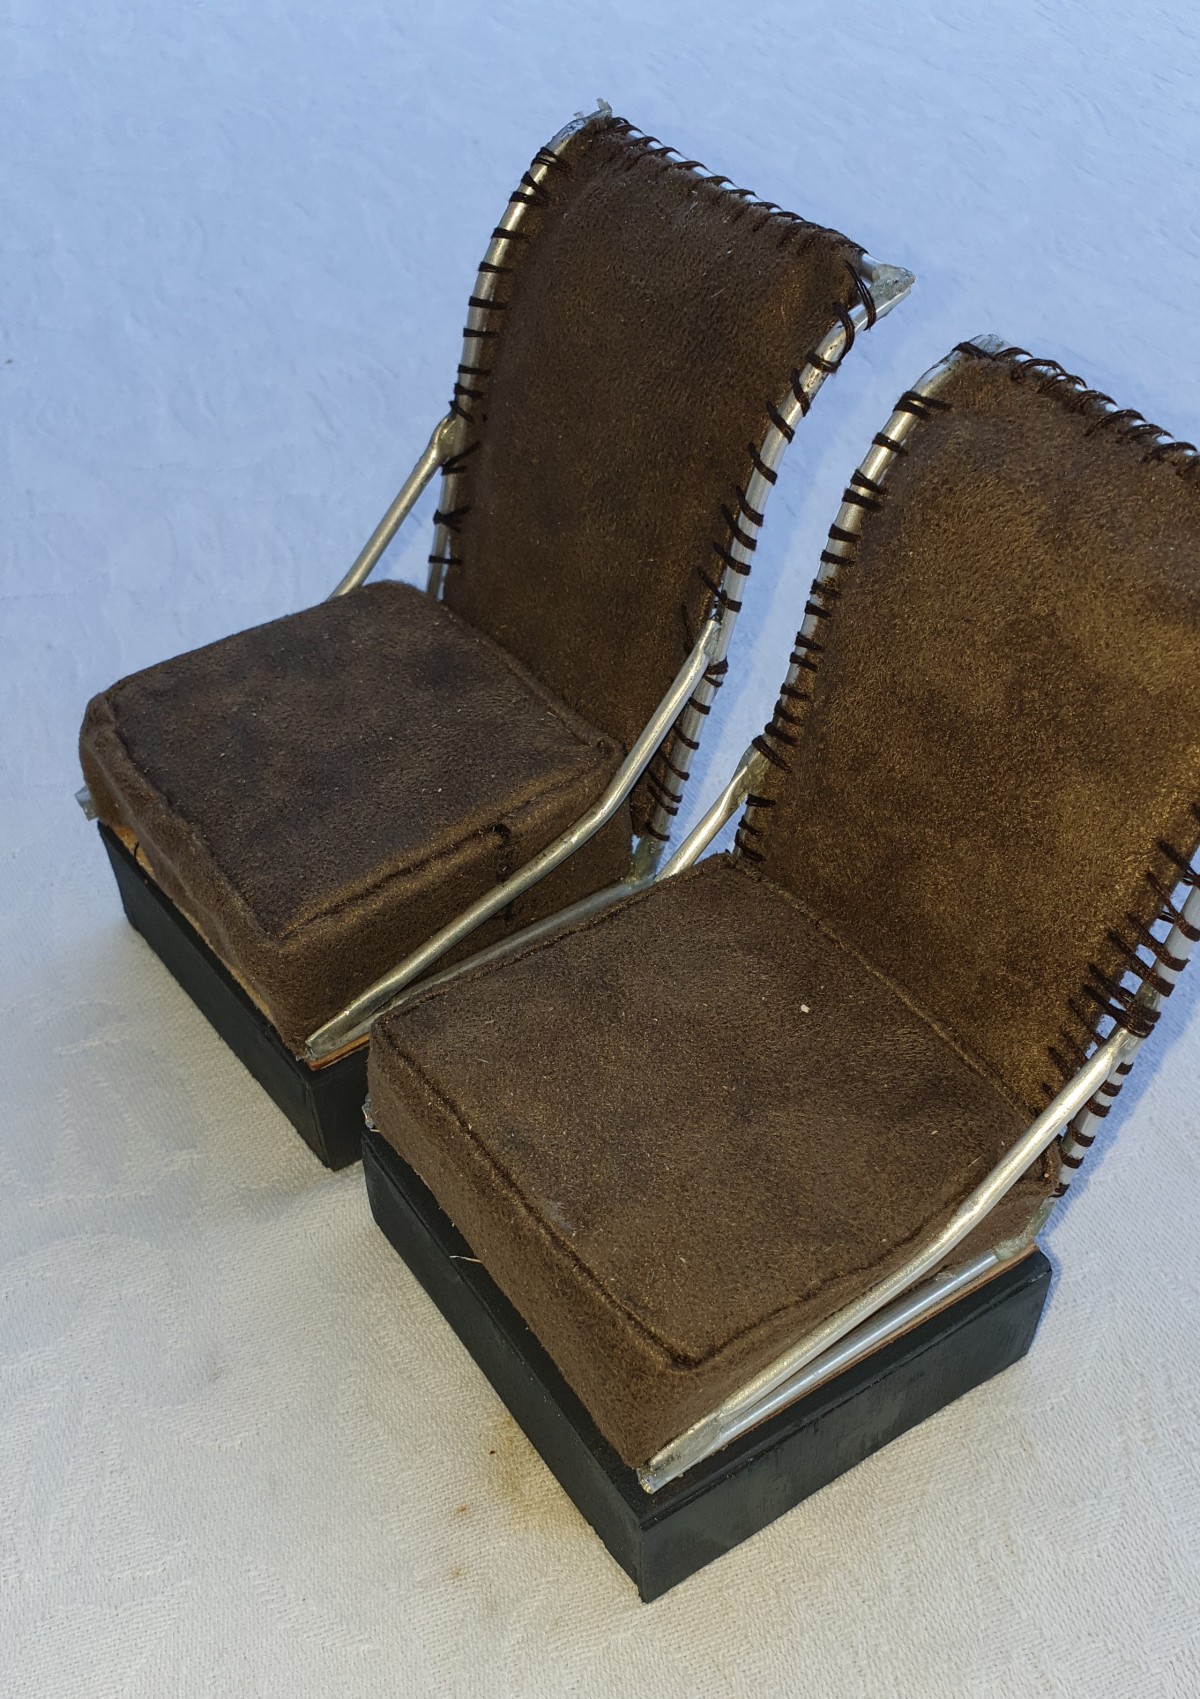
I have reproduced to scale all the seats, backrests and frames.

To make the frame for the backrest seat, I used 3 mm aluminium tube. It’s easy to bend and shape. However, on a hollow tube, bending leaves marks and dents in the tube. Some people recommend using fine sand to fill the tube and then bend it. Personally, I filled the tubes with water after sealing them with plastic film. Then I placed them in the freezer. After 2 hours, I was able to bend them with flat pliers. You have to go fast because it thaws quickly and leave the following ones in the freezer.


Afterwards, I cut a frame out of 15/10 plywood which will be glued to the frame and the seat of the seat.


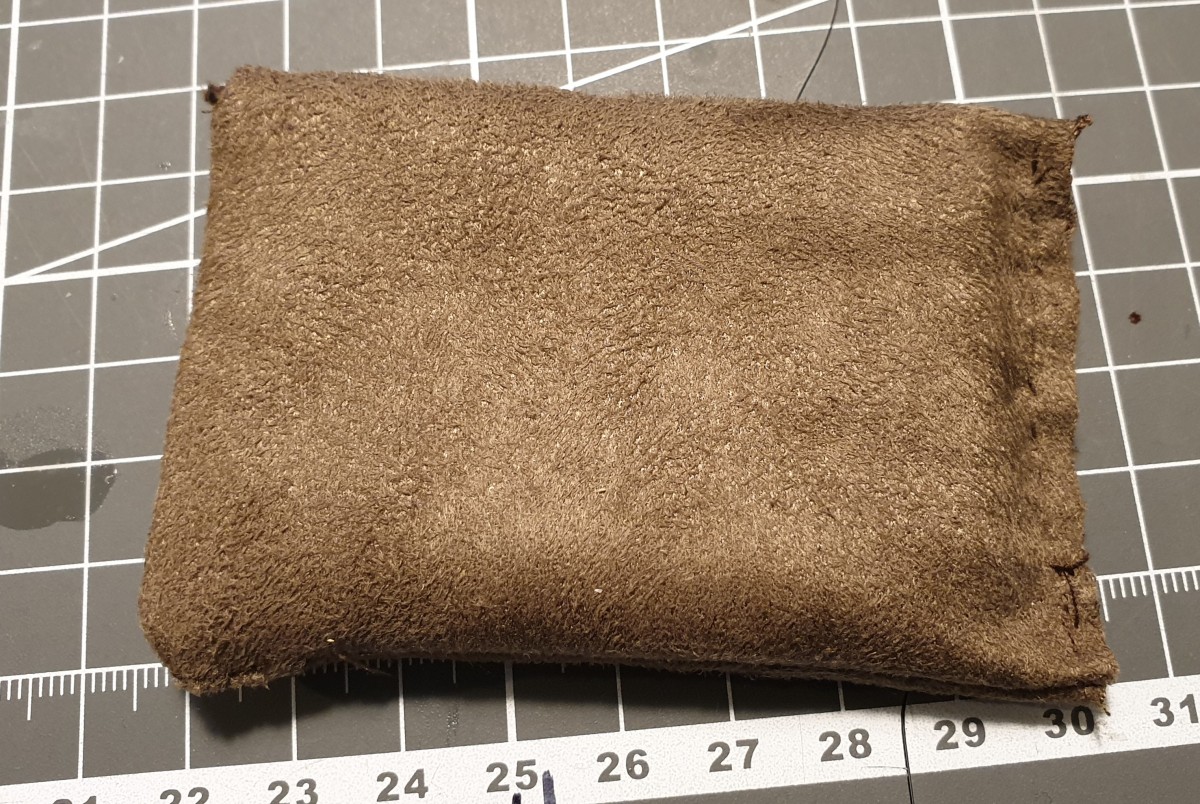
The lower seat cushions are made like the back seat. Foam is cut to the right size. I then prepared cutting patterns and cut the fabric. The coupons are sewn on the reverse side and then flipped over like the real cushions.


Afterwards, I glued the seats in place on the plywood frame.


Then I made the backrests the same way I made the seats. The foam is less thick and should not fill the whole cover. Indeed, it will be necessary to connect the cover to the seat frames. This was done by ropes on the size plane. To reproduce this rope, I used sewing thread folded in 4 strands that I came to sew on the frame.


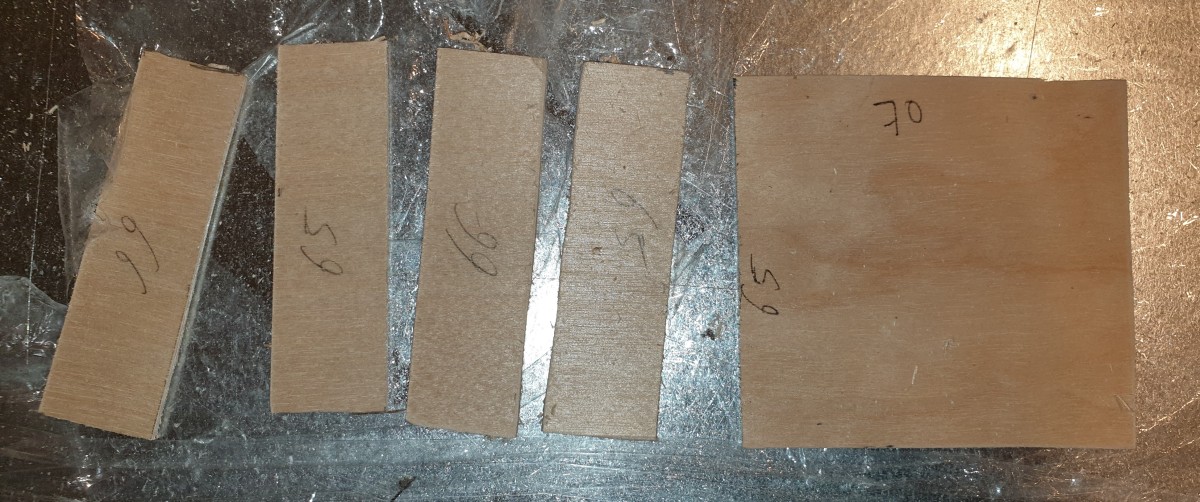
The seat had a front-to-rear adjuster and rested on a trunk. I reproduced this trunk in plywood 10/10. So I cut out the top and sides of the trunk.
The assembly is done upside down with the top placed on a metal plate and held in place with magnetic brackets.

I added the side parts by using metal brackets to wedge them at 90°. The gluing is done with Cyanoacrylate glue. Afterwards, I cut pieces of 5 x 5 balsa wood to reinforce the angles.


The seat support boxes have been painted in dark grey to imitate a metal frame and the seats are placed on top of them. I still have to make the adjustment system with small profiles and seat belts.