
I performed the registration to reproduce.
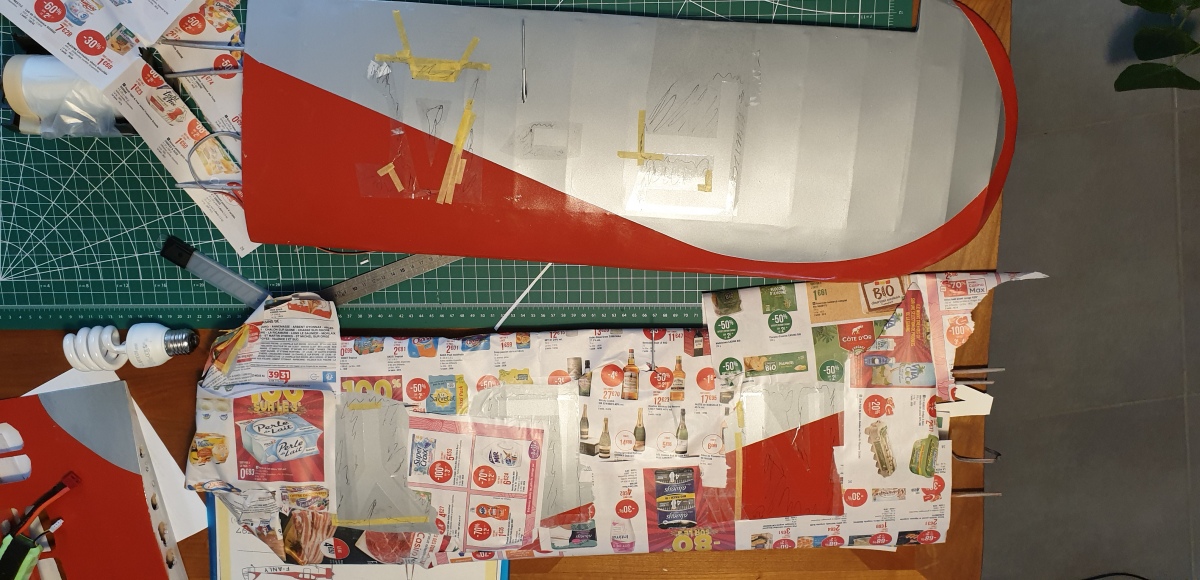
First step, to recover and to determine the size of the letters to scale. I traced them and printed them. Then I transferred them to a self-adhesive mask that I cut out. Be careful not to lose the internal forms of the letters, as in A.


Once the letters have been cut out from self-adhesive covers, they must be positioned correctly on the wing. To do this, I used the wing plan to scale and I superimposed by transparency with Power point an image of the registration from the plan 3 views.

I printed it in size 1 (there are a lot of A4 sheets that I had to assemble before repositioning them on the wing to draw the location marks). Well, I had no more ink in the printer, hence this very ugly impression ….. But it’s okay, I was abble to see the location of the letters.

I positioned the masks (work of patience) by smoothing the edges well (rather 2.3 times, or even more rather than one), to avoid possible infiltrations under the cache …

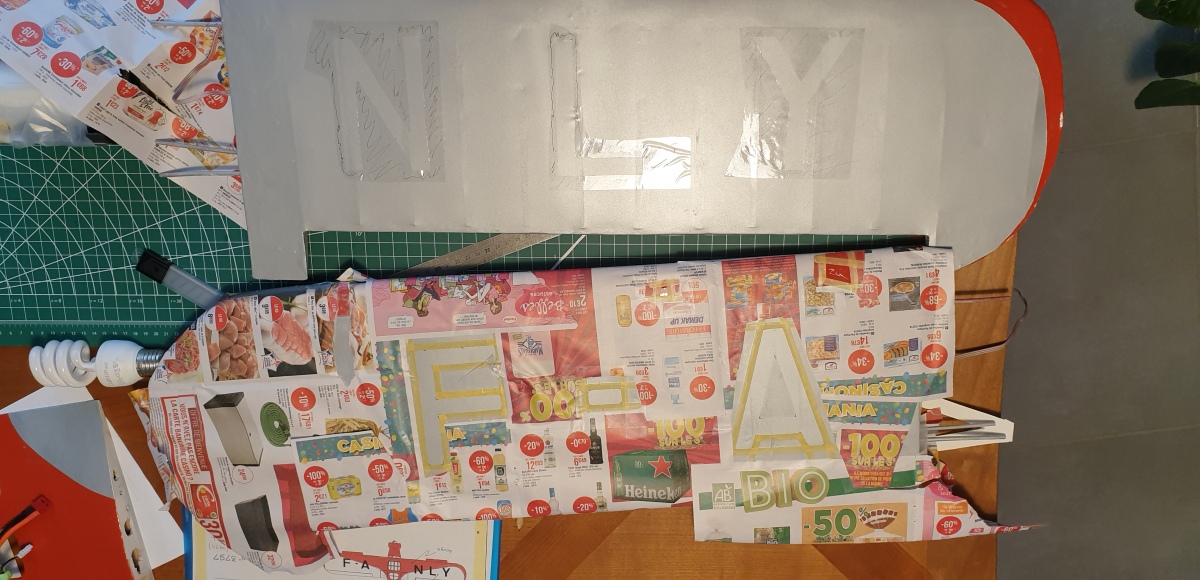
It’s a time-consuming step. I spent my Saturday there …
At the opposite, the rest is extremely fast. A veil of paint and I removed the caulking and mask to admire my work….

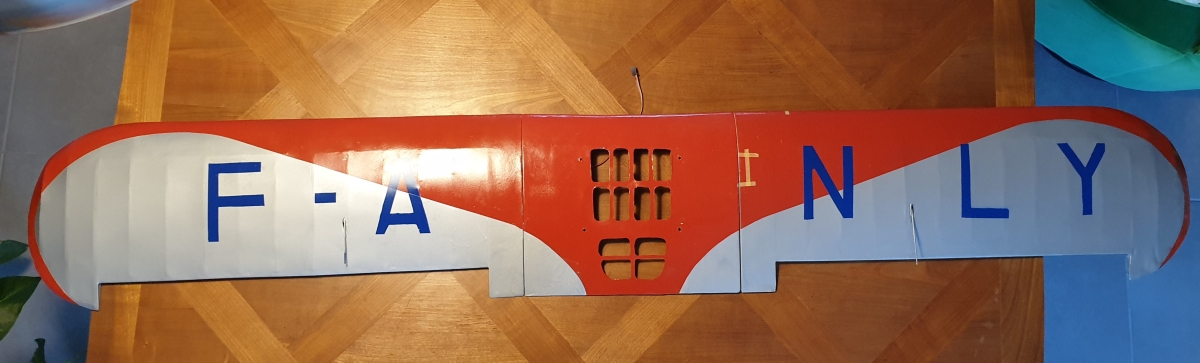
There are imperfections, a badly finished Y, not perfect edges that I will take up later, but with a brush I think…. I admit that this stage is very enjoyable, because we finally see his dreams come to life and impatience awaits us, but no precipitation if we want to do a good job.


